Olive Crusted Swordfish and Mediterranean Orzo

IMG_9970

I’ve actually never cooked swordfish before – but have always enjoyed it at restaurants. Swordfish is an oily fish so be sparing with the amount of oil you use in its preparation. This twist lends a nod to the Mediterranean with the components of Greek yogurt, black olives and lemon juice in its crust. While the orzo salad bursts with color from the green of fresh spinach leaves and flavor from the juices of the ripe tomatoes. This meal brings me back to memories of dining al fresco seaside in Italy with my family. Seafood there is always so fresh and dishes are clean and light. Pair this meal with a glass of your favorite white wine!

(Ingredients- Swordfish)

Swordfish Steaks

Plain Greek Non Fat Yogurt

Panko Bread Crumbs

Sliced Black Olives

Lemon

Cooking Spray

Olive Oil / Oregano / Black Pepper / Sea Salt / Garlic Powder

(Ingredients- Orzo)

Orzo Pasta

Plain Greek Non Fat Yogurt

Fresh Spinach Leaves

Campari Tomatoes

Crumbled Feta Cheese

Lemon

Dijon Mustard

Olive Oil / Mrs. Dash Lemon Pepper Seasoning

 A couple of things to note … 

  • I would boil the orzo pasta prior to doing anything and set aside so the pasta is room temperature before you combine the other ingredients into it.
  • I believe ½ Cup Dried Orzo makes 1 Cup Cooked. I made four cups cooked.
  • While the fish is cooking you can prep all the parts that go into the orzo.

Coating for the Swordfish

Chop up the black olives and place in a bowl.

Combine the olives with two tablespoons of the Greek yogurt, a cup of the panko breadcrumbs, juice of ½ a lemon, a dash of oregano, garlic powder, black pepper and sea salt.

Once combined coat the top of each swordfish piece. The mixture will be thick an sticky so just pat it onto the fish.

Baking the Swordfish

Pre-heat the oven to 400.

Take a baking dish and lightly coat with a cooking spray.

Place the fish in the baking dish and drizzle olive oil onto the fish.

Bake for about 15 – 20 minutes until the fish is cooked through and the crust should brown. Depending on how thick your fish is you may need to bake a bit longer.

IMG_9965

Putting Together the Orzo

In a measuring cup combine the following.

¼ Cup of Olive Oil, one tablespoon of Mrs. Dash Lemon Pepper Seasoning, Juice of one lemon, one tablespoon of Dijon mustard.

This will be your dressing for the Orzo and once in with the orzo you can also add two tablespoons of the Greek yogurt.

Chop up four Campari tomatoes, cut  fresh spinach leaves into ribbons.

Combine the vegetables along with half a cup of the crumbled feta into the orzo.

Add the dressing and the Greek yogurt and mix again.

IMG_9966

Once fish is cooked – Plate with the Orzo Salad and enjoy with that glass of white wine! 

 © Cookery for Two – 2015 . Unauthorized use and/or duplication of this material without express and written permission from this blog’s author and/or owner is strictly prohibited. Excerpts and links may be used, provided that full and clear credit is given to Cookery for Two with appropriate and specific direction to the original content.

My Kitchen My Way – Turkey Bolognese

IMG_9141

You cringe when you fall upon a recipe that requires a pot, tool or machine you don’t have.

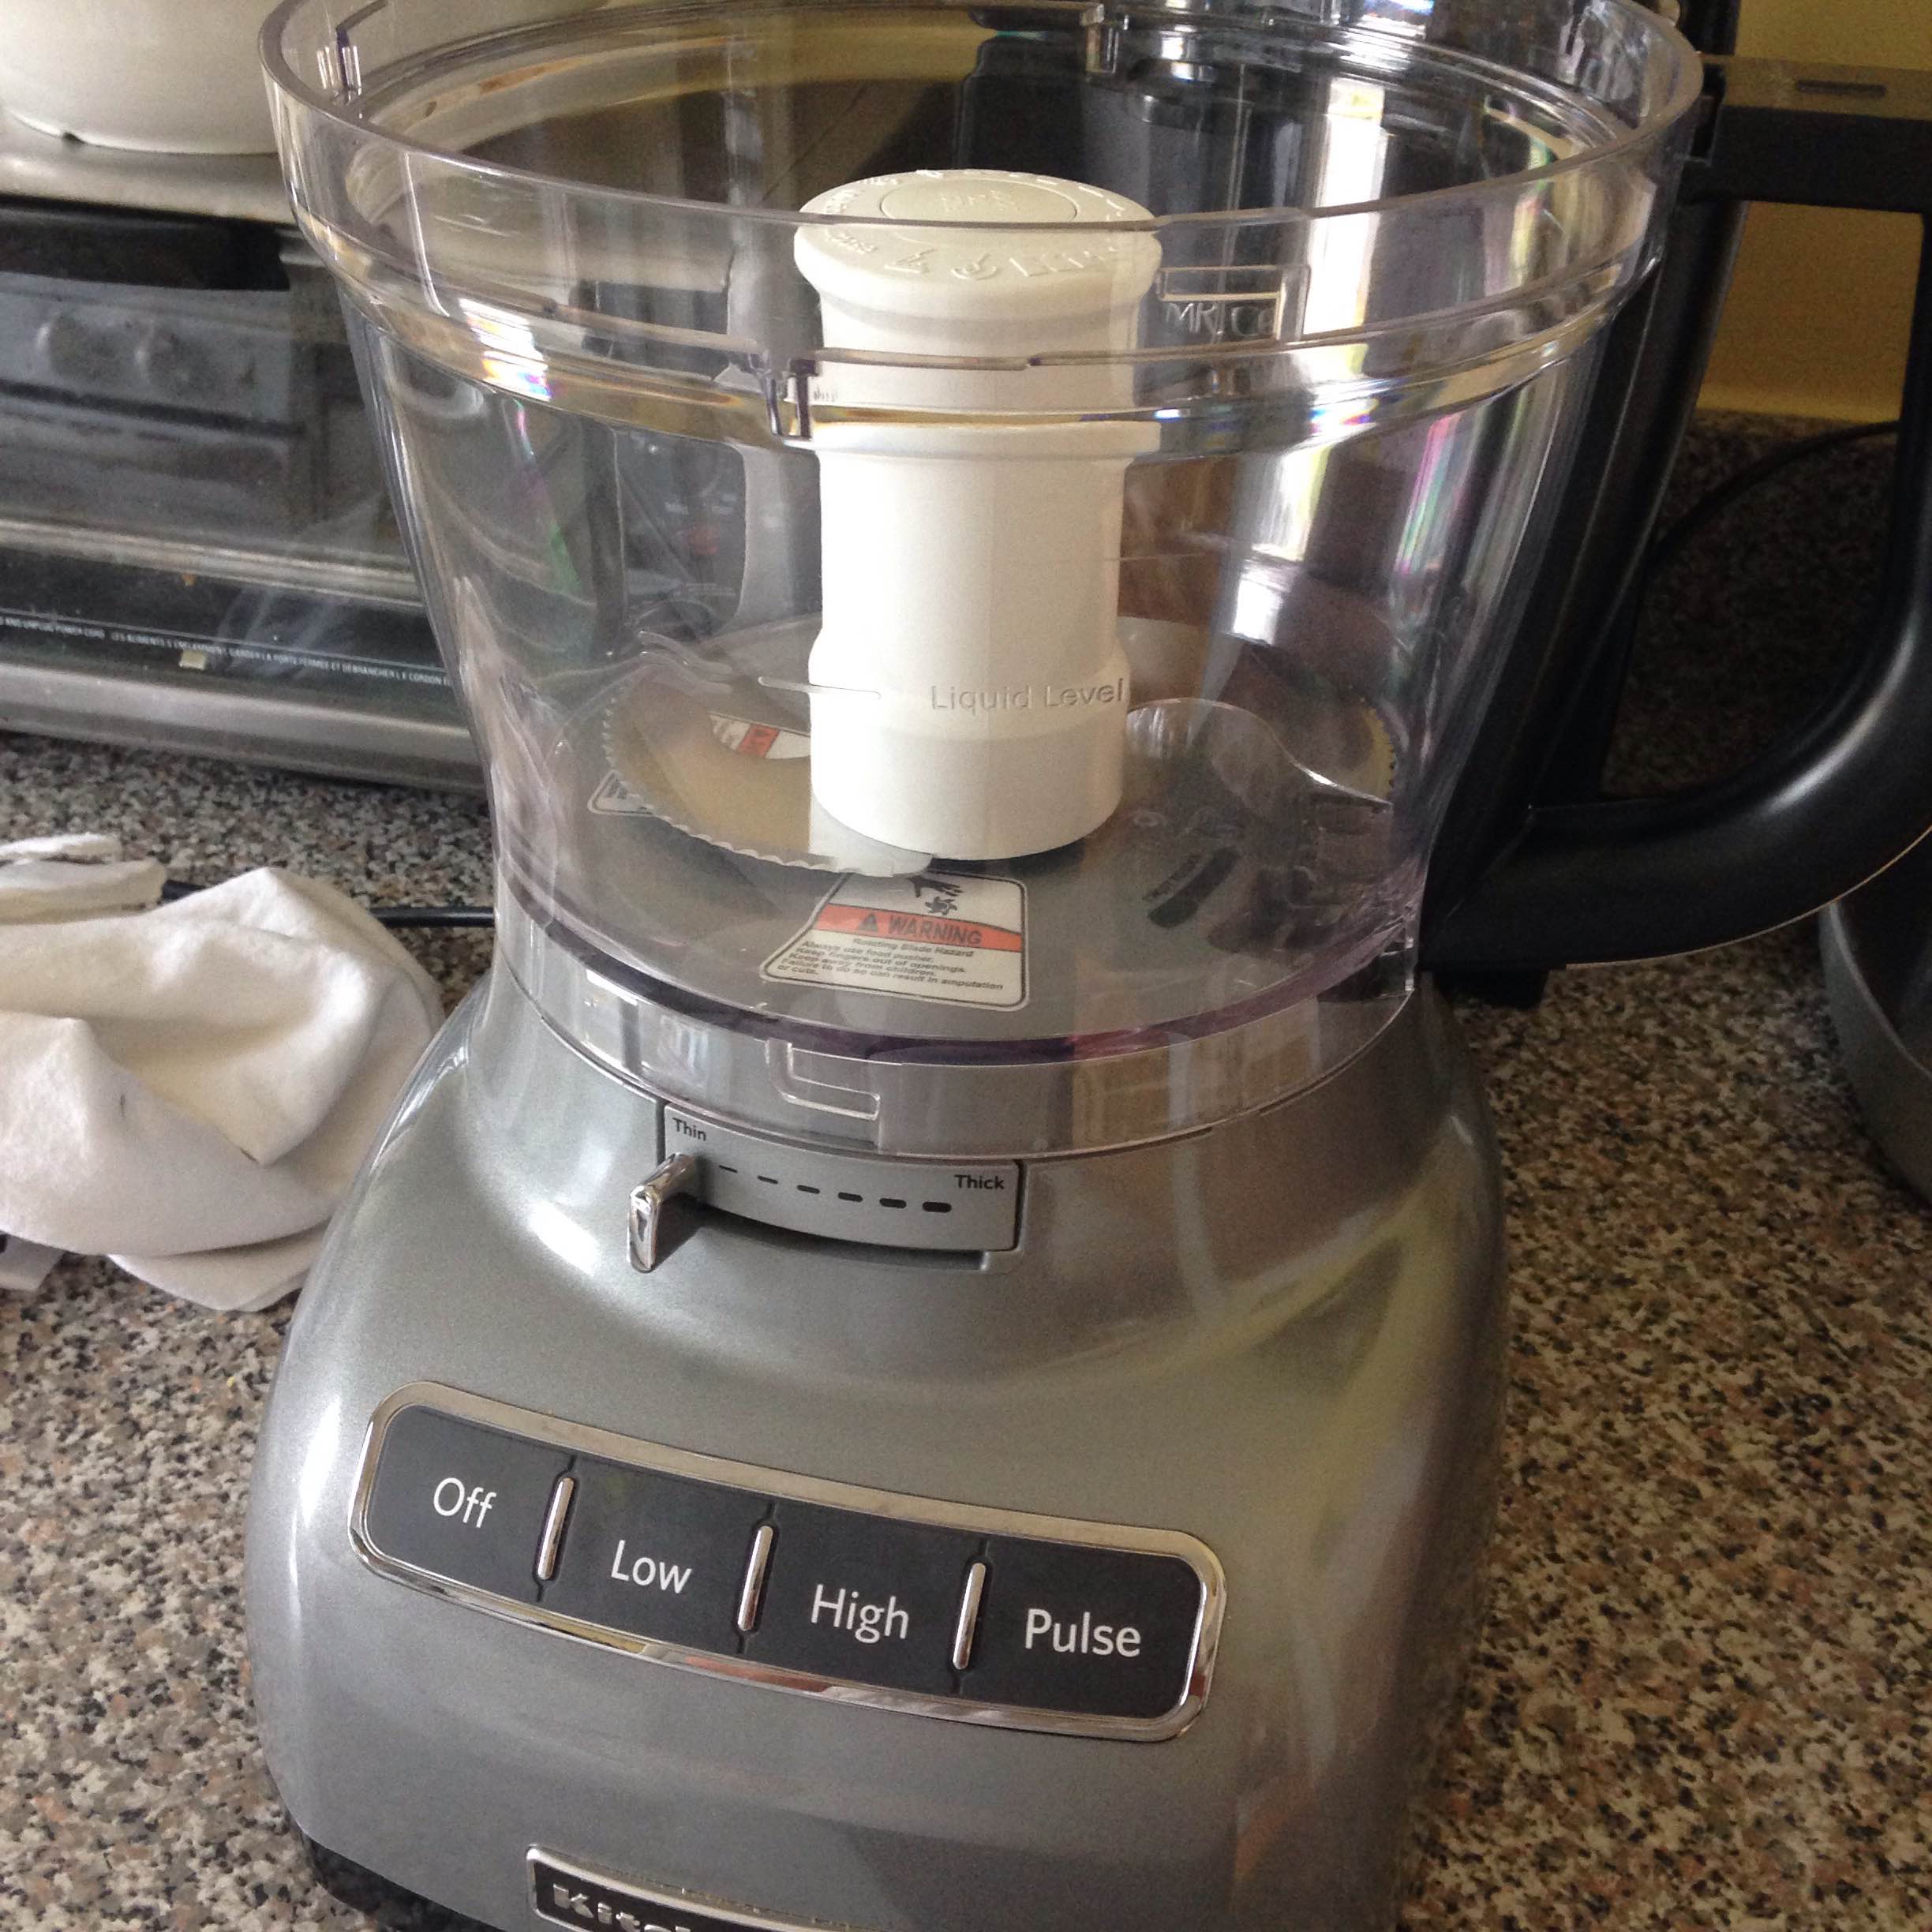
I had dropped many hints for my husband to buy me a food processor and one Christmas my kitchen dreams became reality. The ironic thing is since he’s bought it for me I’ve only used it a handful of times.

One dish I’ve never made before, funny enough growing up with an Italian father in the kitchen is pasta Bolognese. Now I’m not sure what they did in the past when food processors didn’t exist but as long as I can recall my dad always minced his veggies in some type of machine.

Here was my opportunity to bring out my food processor!

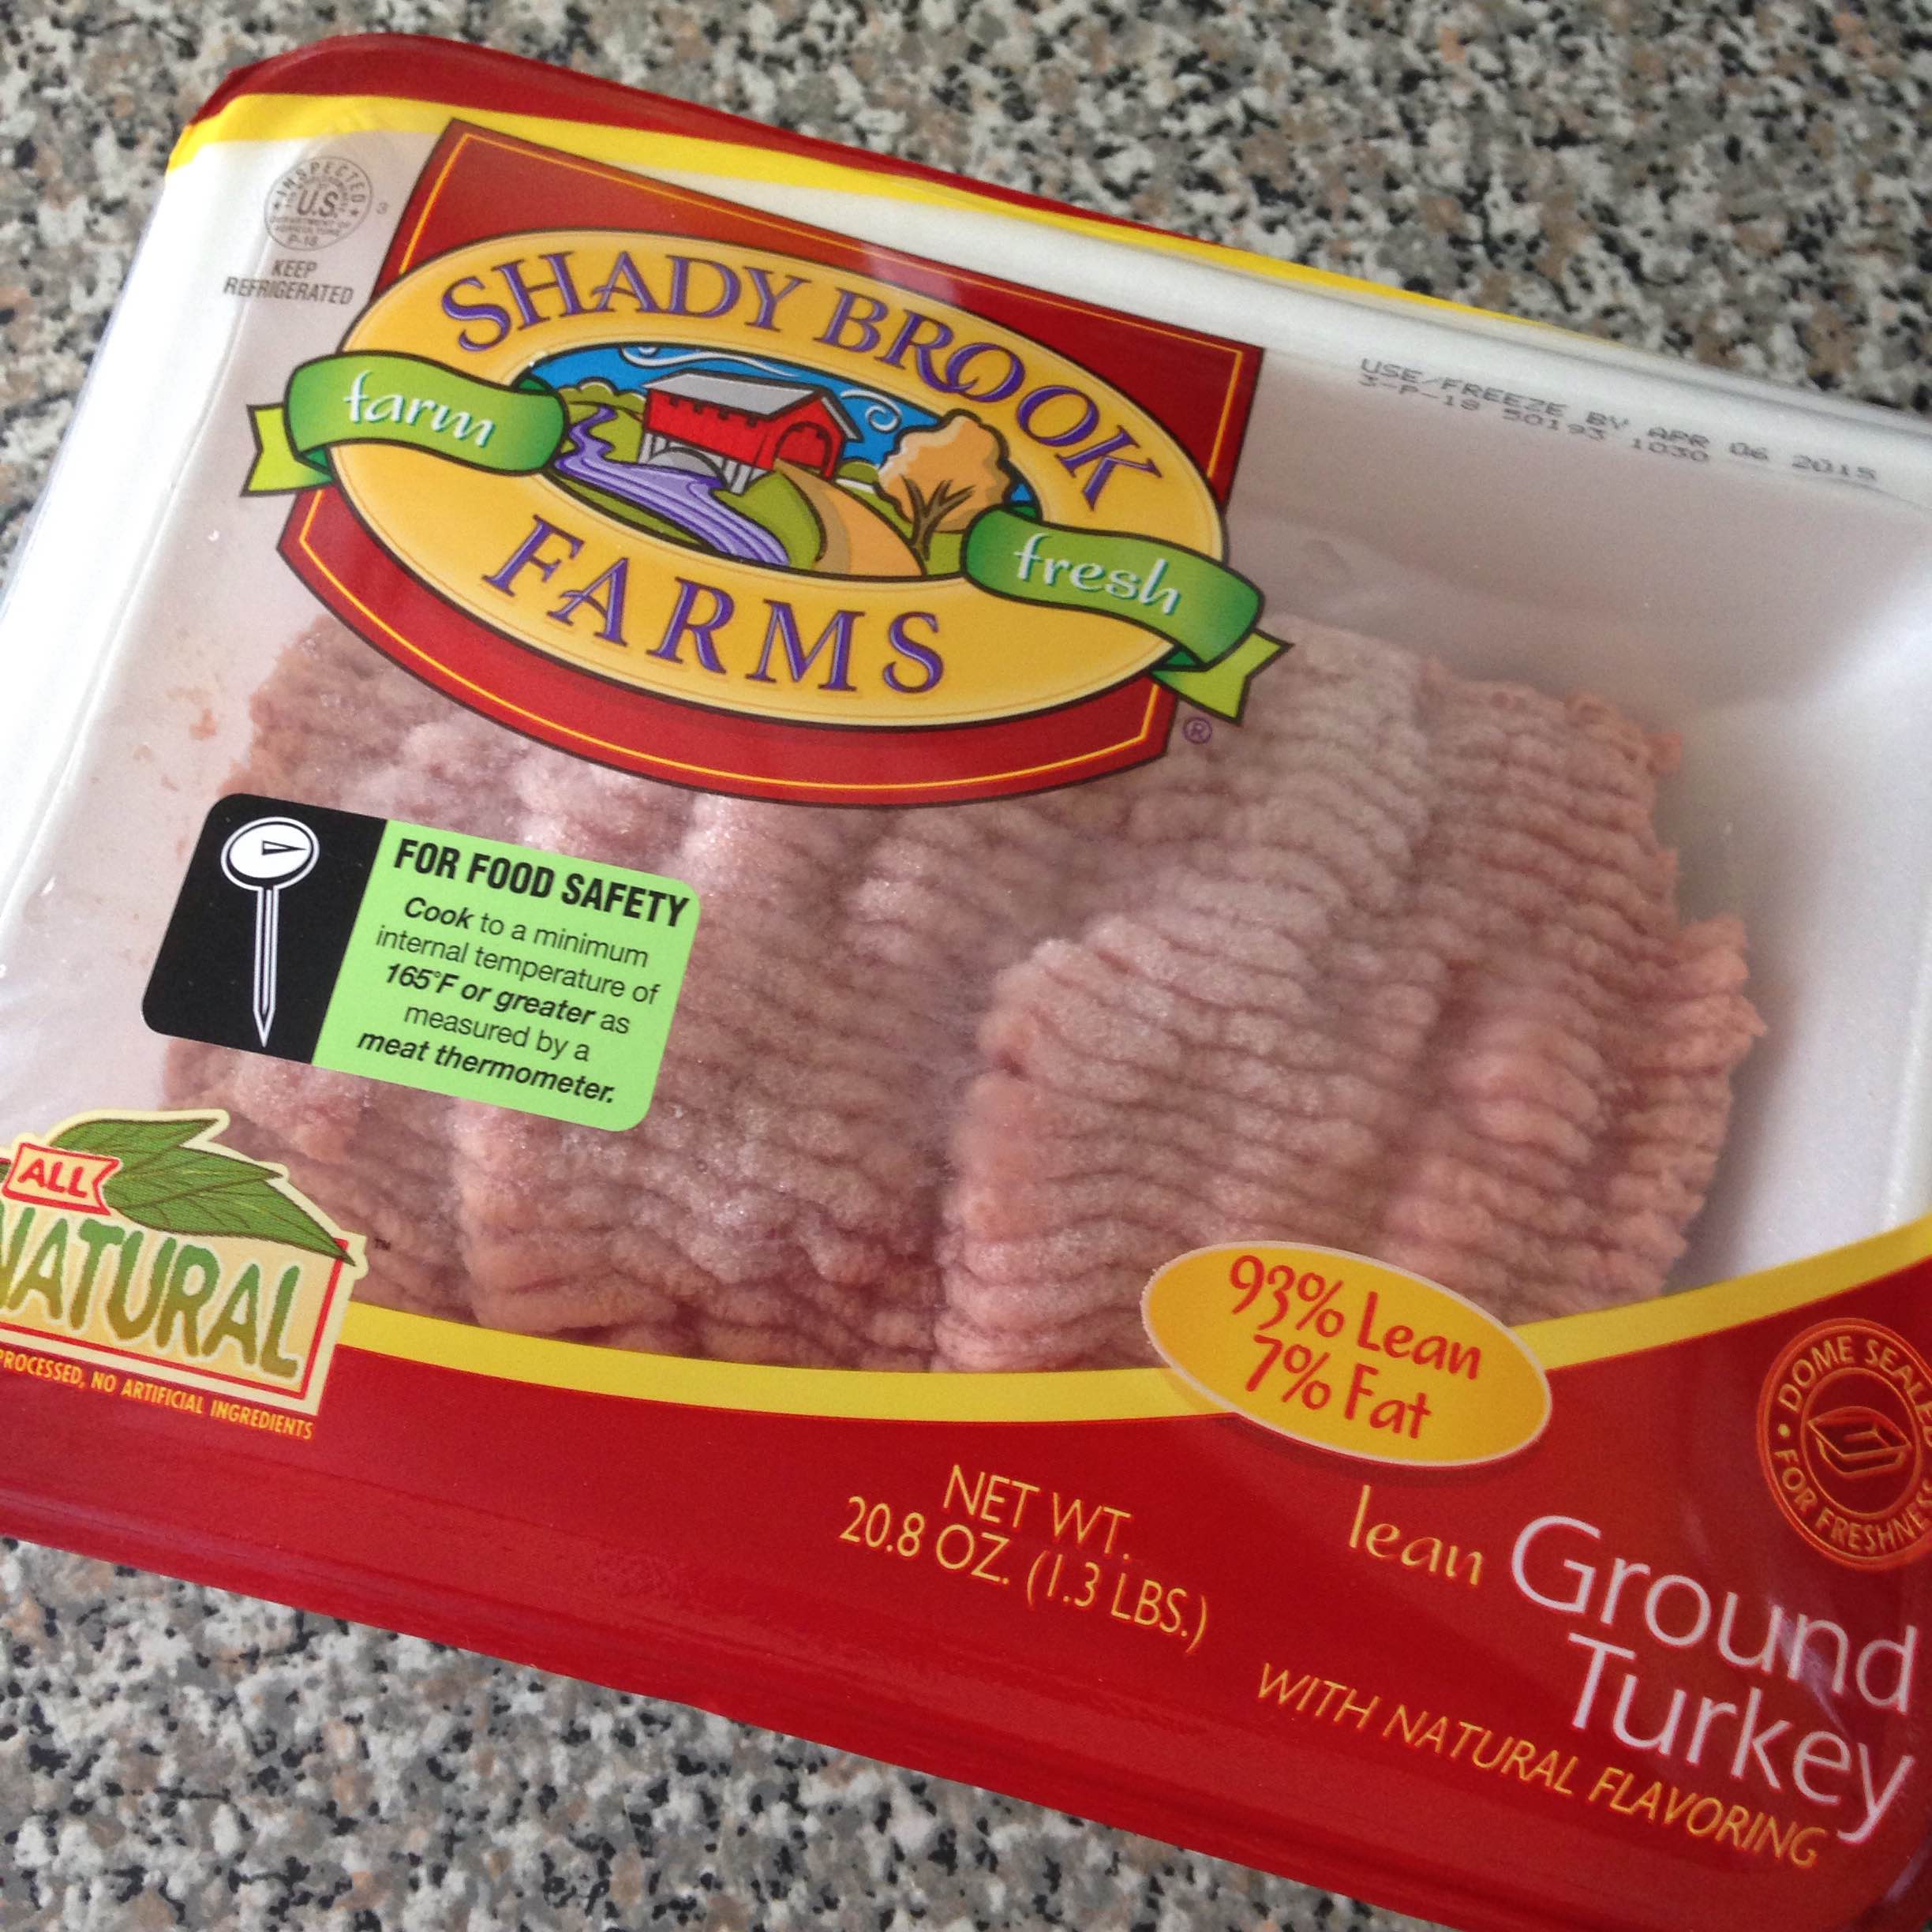
The batch I made uses ground turkey instead of beef and we hold the onions here.

This sauce is flavorful, textural and quintessential Italian.

Turkey Bolognese – Make allot – Eat some and freeze some for a rainy day!

IMG_9117                 IMG_9118                 IMG_9120

*Special Equipment*

Food Processor

*Ingredients*

Ground Turkey Meat

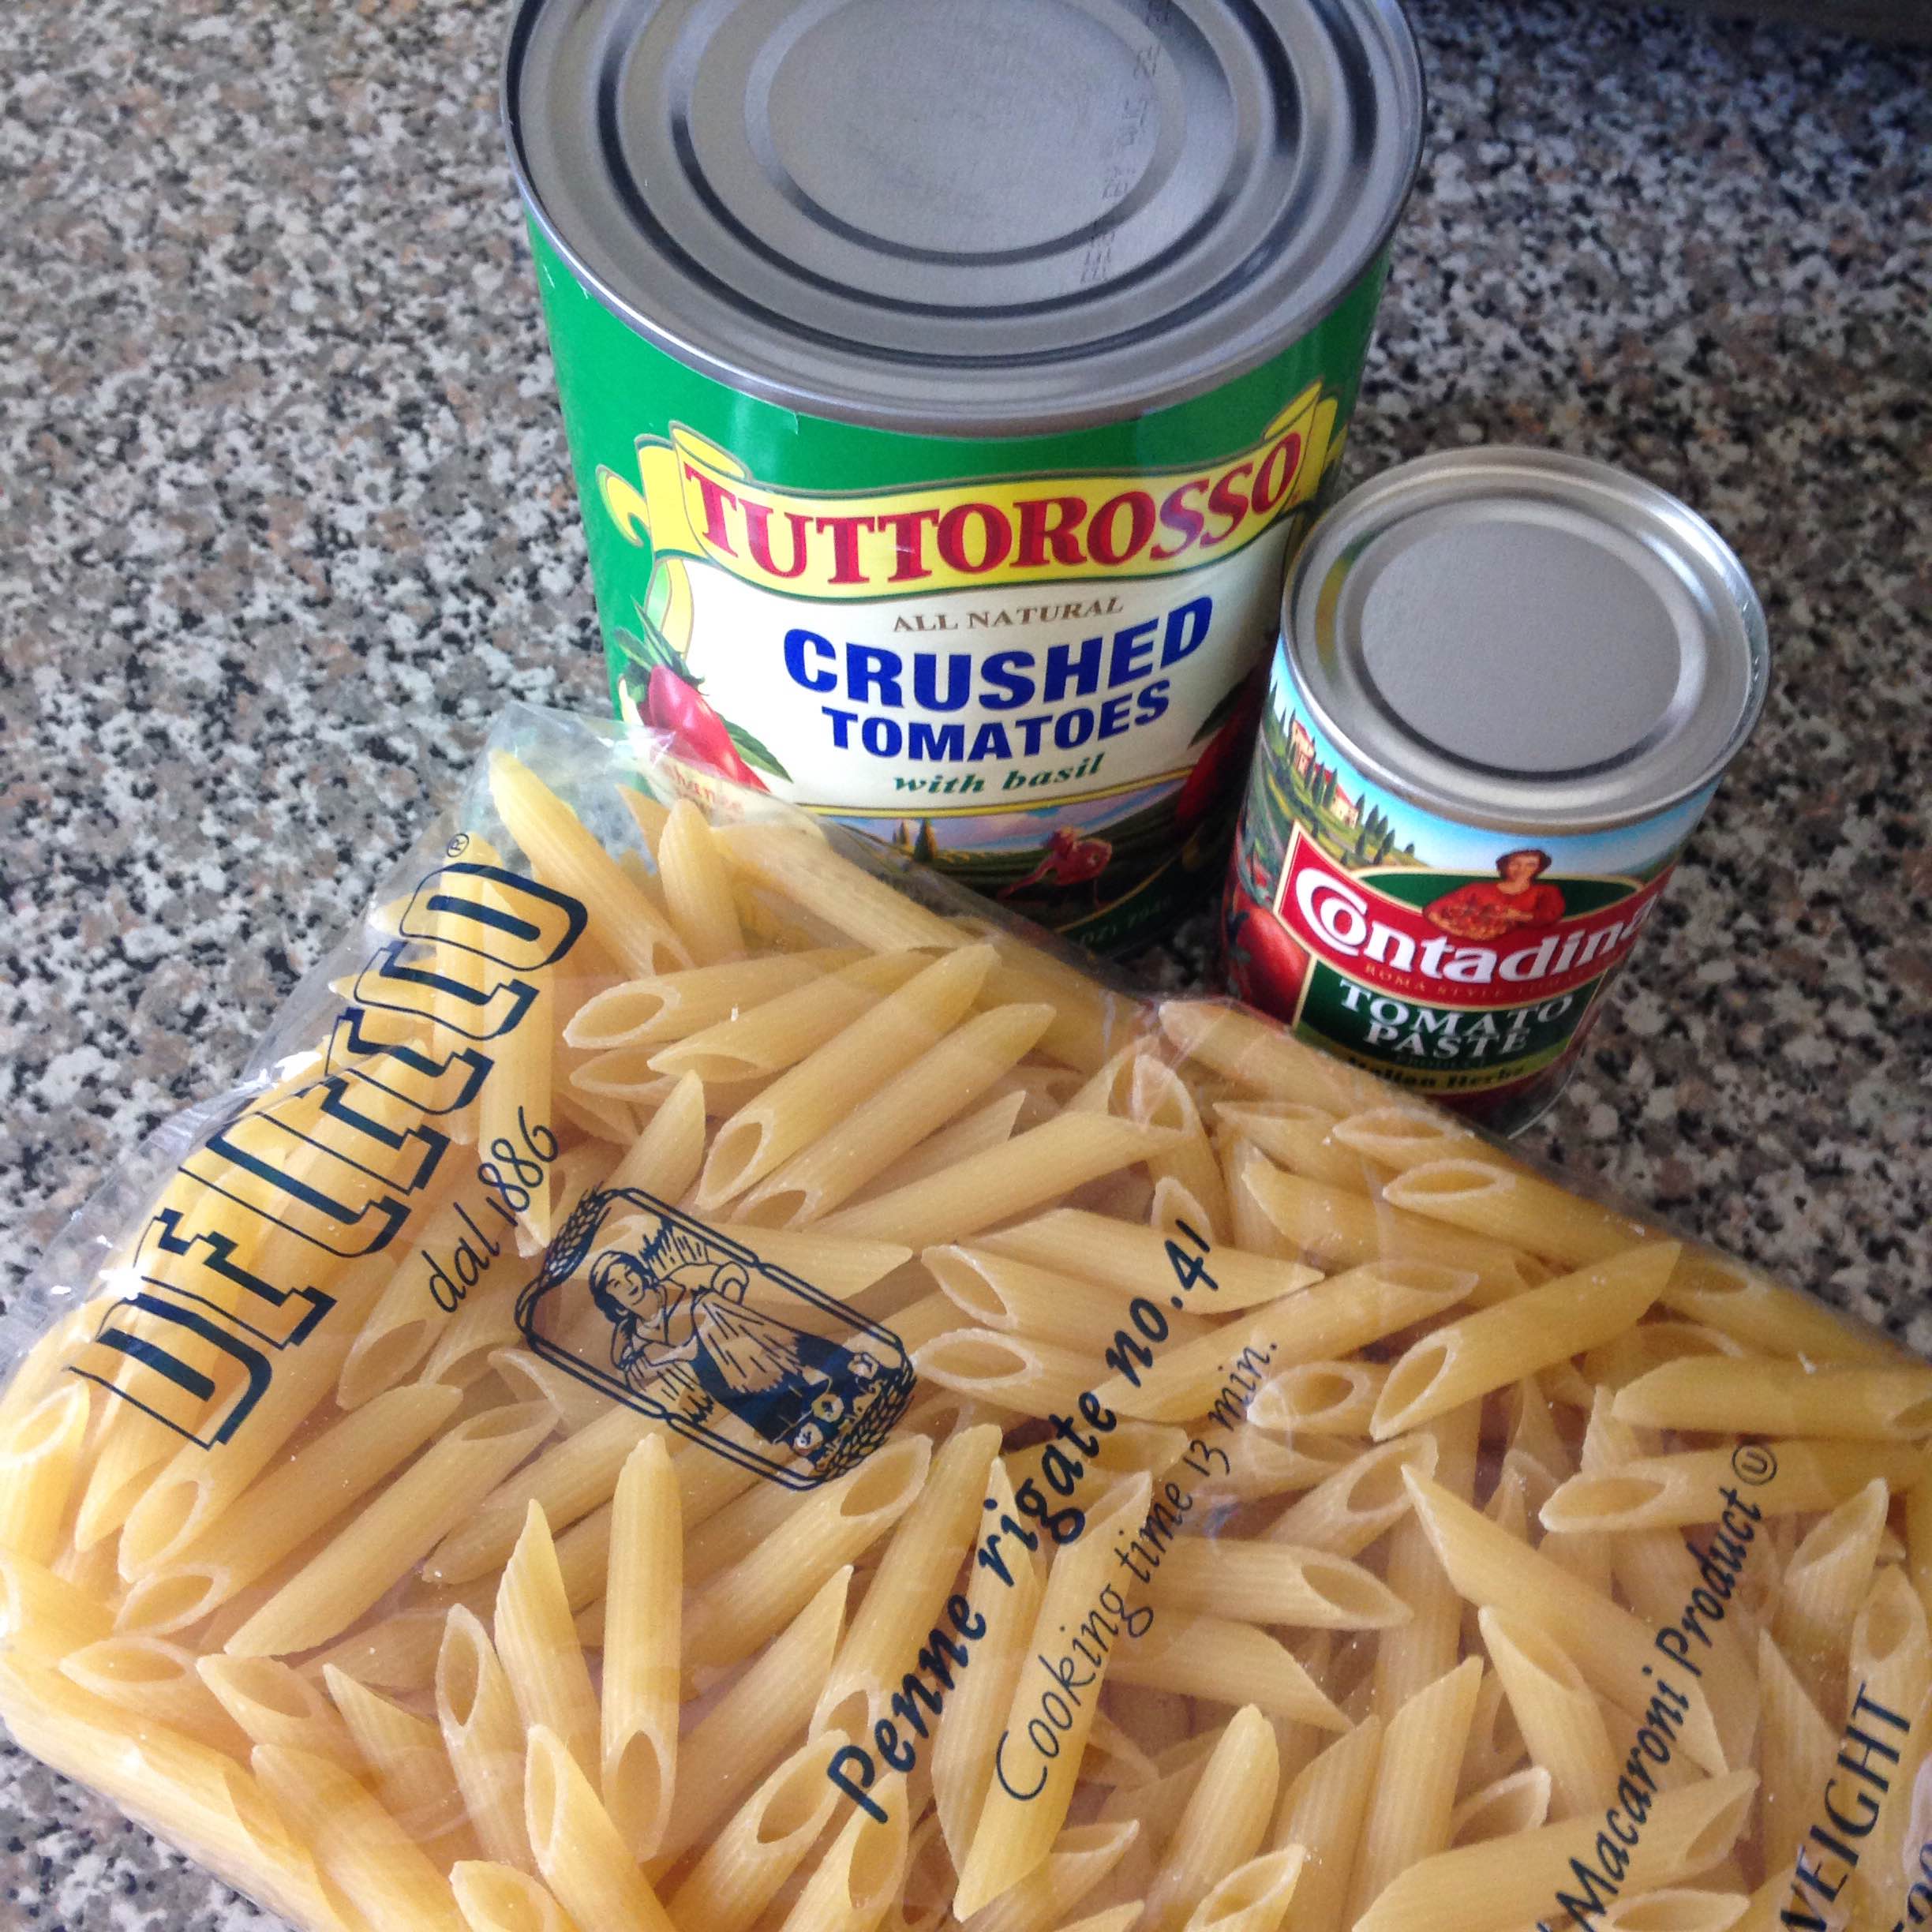
1 Can Crushed Tomatoes

1 Can Tomato Paste

(3) Raw Carrots Stems – Chopped

(2) Raw Celery Stems – Chopped

(3) Garlic Cloves – Peeled

A Handful Leaves of Basil – Chopped

2 Dried Bay Leaves

Dried Oregano – Sprinkle

Hot Pepper Flakes – Sprinkle

1 Cup Red Wine

1pd Dry Pasta

Grated Parmesan Cheese

Extra Virgin Olive Oil

In the food processor – finely mince the carrots, celery and garlic. You can also add in a shallot or any type of onion, but again we prefer no onions.

IMG_9123           IMG_9125

Once processed set the mixture aside.

Heat one tablespoon of EVOO in a large sauce pan, brown the turkey meat.

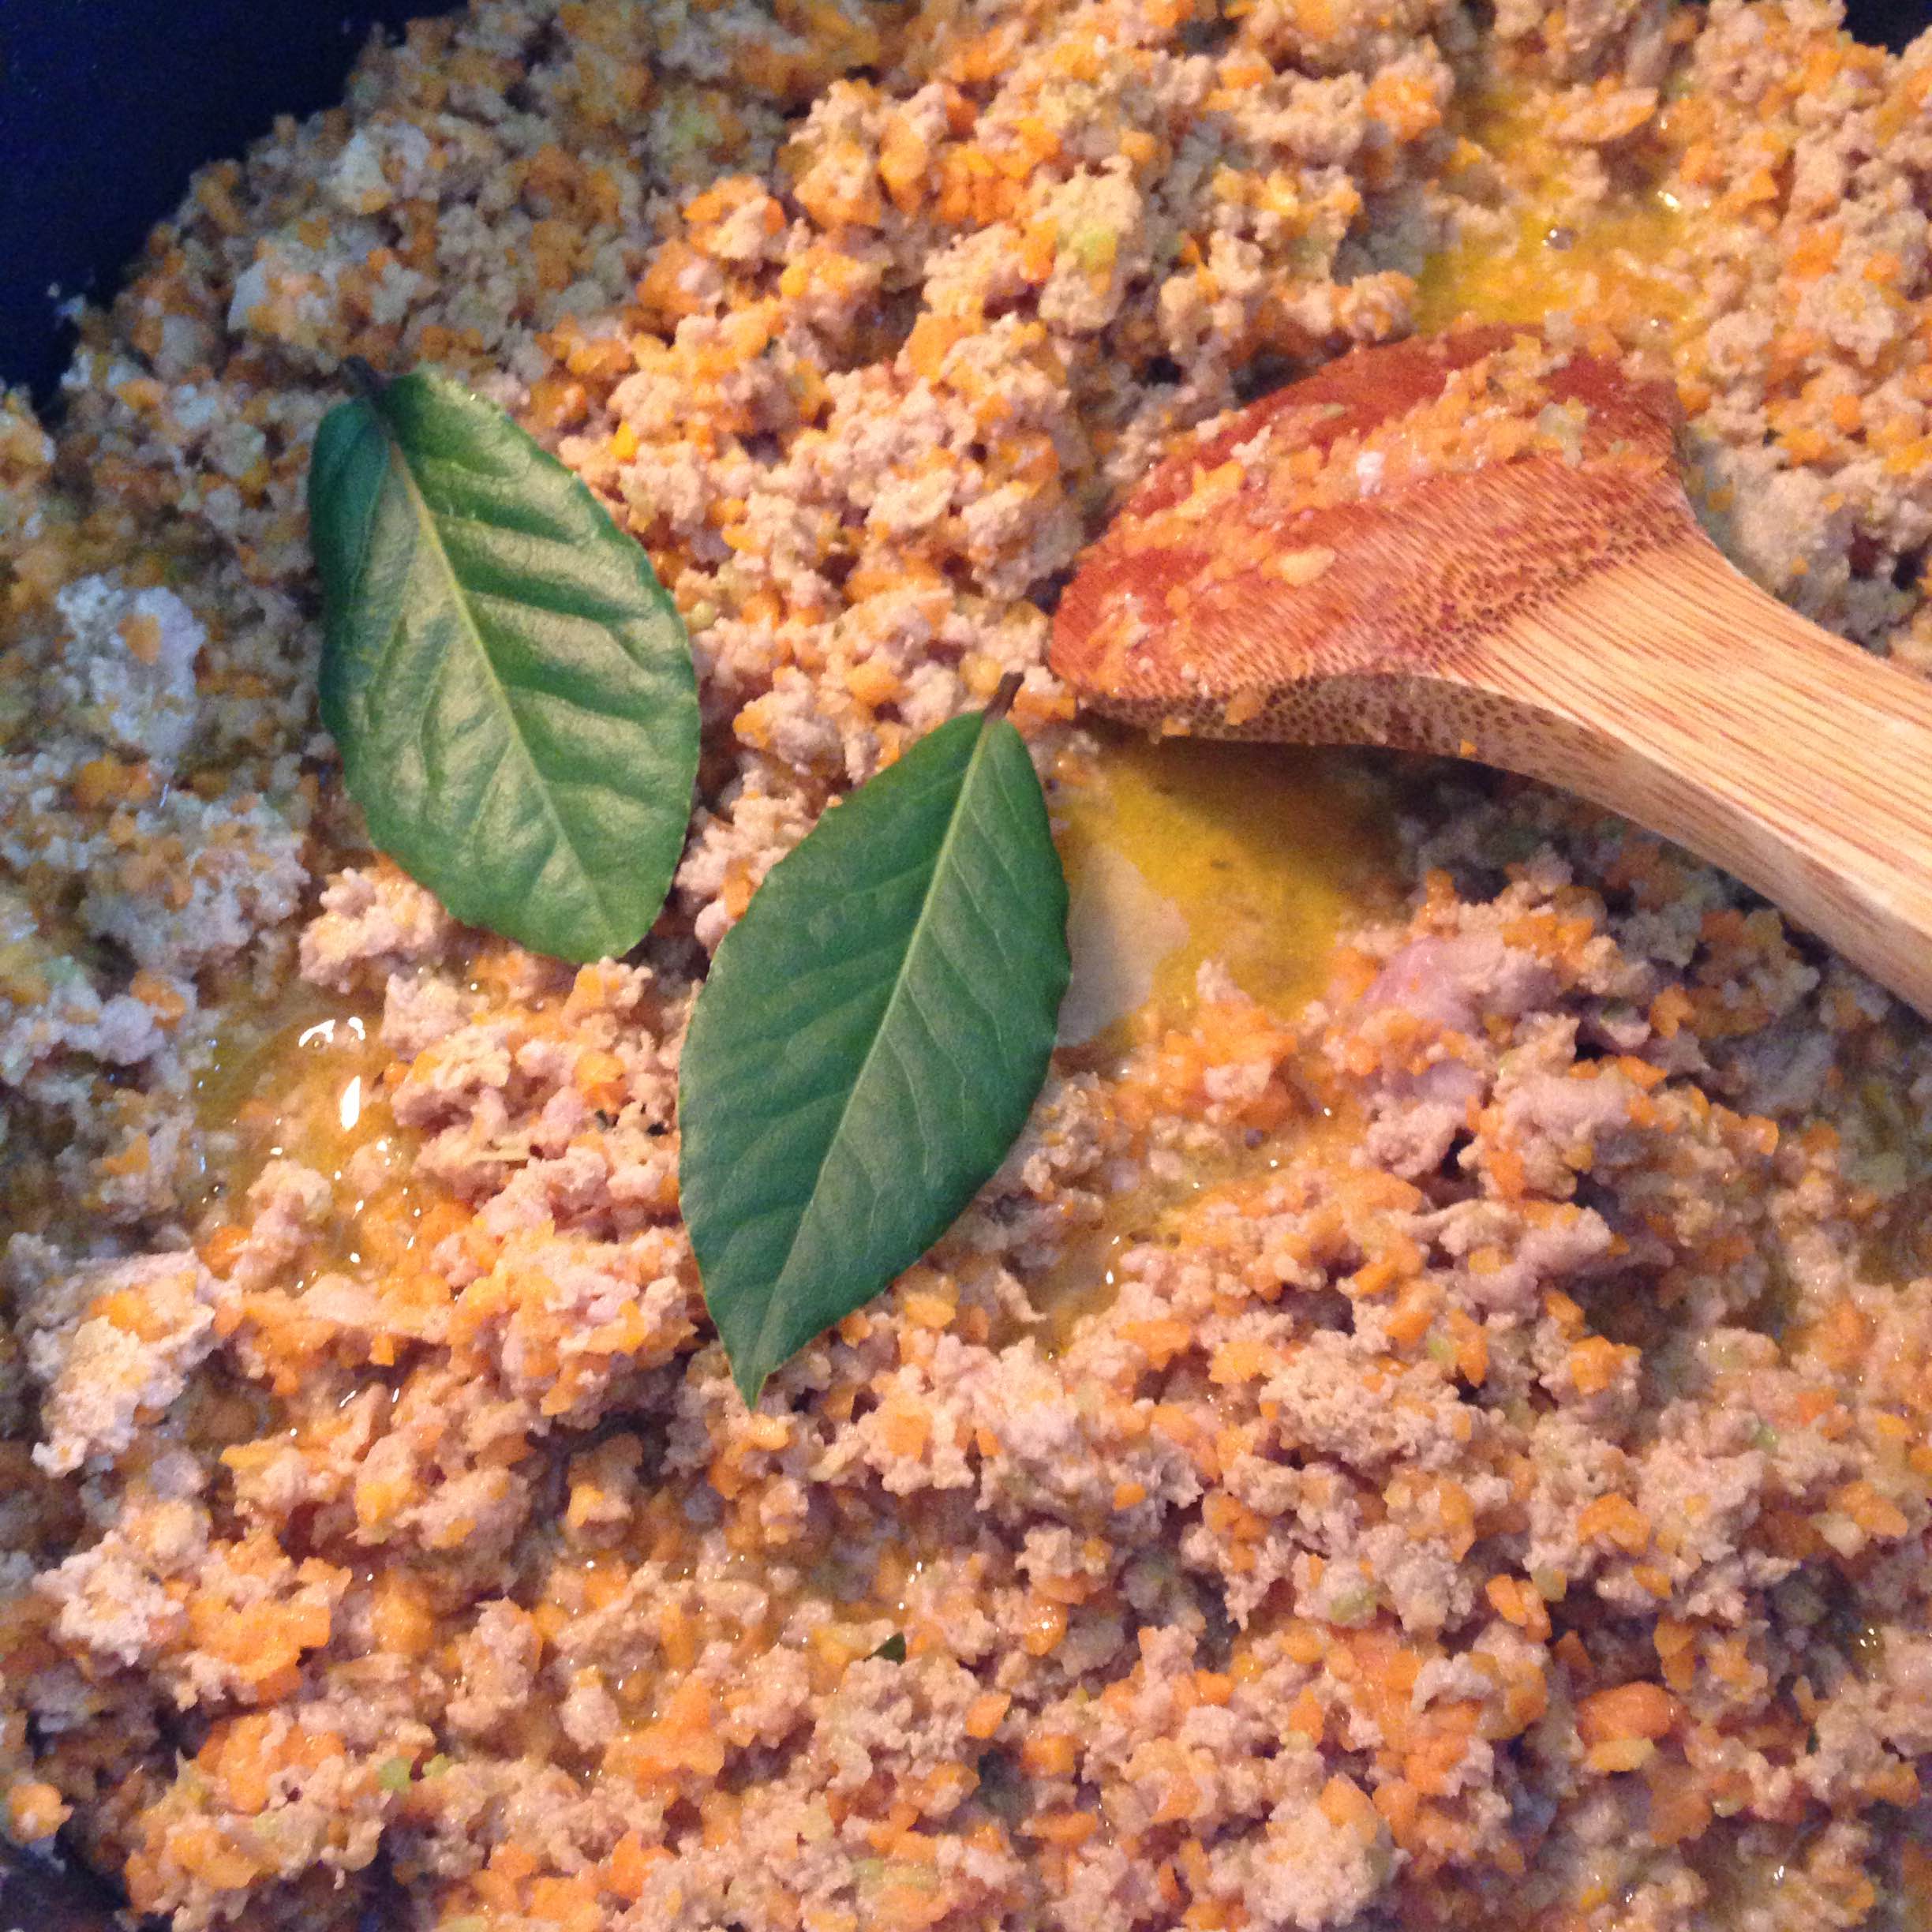
Once  the meat is almost cooked add the processed vegetables to the pan and add the bay leaves, continue to cook through while mixing.

IMG_9133

Next add the can of crushed tomatoes, the tomato paste, the cup of wine, the oregano and hot pepper flakes combine all.

Drizzle one tablespoon of EVOO, throw in the basil and stir.

IMG_9136

Cover the pan and simmer the sauce on medium to low heat and let cook for about half a hour.

Once half and hour or so passes – start to boil the water for the pasta.

You can keep the sauce on very low or turn off and cover to keep warm.

Boil your favorite type of dry pasta– once cooked drain the pasta.

Add the cooked pasta to the sauce pan.

Plate the dish, top with grated parmesan and enjoy!

© Cookery for Two – 2015 . Unauthorized use and/or duplication of this material without express and written permission from this blog’s author and/or owner is strictly prohibited. Excerpts and links may be used, provided that full and clear credit is given to Cookery for Two with appropriate and specific direction to the original content.
 

Out of The Kitchen – Mexican Cuisine on Main Street

Verde

Main Street in Bayshore is becoming a foodie hotspot and newcomer, Verde Kitchen & Cocktails, is pumping out some authentic Mexican food that is sure to keep you coming back.

My friend and I met up here last week to have an early dinner.  For a Thursday the back dining room filled up quite quickly.  When we left we saw the bar area pretty crowded for their happy hour of 1/2 price tacos, quesadillas and drink specials.

The back dining room is a live green house where the window boxes hold the fresh herbs and peppers they use to cook in the kitchen. It was well appointed with wooden tables, fresh flowers, and mismatched vintage chairs upholstered in coffee bean bags. Because of the vintage feel I was surprised to see the menu was laminated – I’m a sucker for details and would have preferred a more unique presentation of the menu than the sticky salsa stained plastic one in my hand.

I started with a cocktail, the Jalisco Pear.  It was sweet but not overpowering and I could definitely sense the tequila, but the pear infused liqueur was delicious. That evening they had a special margarita that was combined with sangria; the description sounded pretty awesome, but I wasn’t able to try it.

For an appetizer we chose the Guacamole Rajas: fresh avocados melded with roasted poblano peppers, almonds, pepitas, and pomegranate seeds. The toppings lent texture and flavor to the creamy avocado and it came with crispy tortilla circles for dipping.  This was a great starter to dinner.

We decided to order two types of tacos and split them (since each order came with two) along with a side of rice and beans. The first taco was the Camarones: plump juicy shrimp with a grapefruit marinade coming through and crisp cabbage topped with a pineapple salsa. It was so fresh and the shrimp were simply delicious. The second taco was the Pescado: a large hunk of crispy battered white fish wherein the crust was flavorful, not oily, and the fish was flaky and seasoned well. This was topped with avocados and a grapefruit hot sauce – again, another sure winner for their taco lineup. If my stomach had more room I would have tried the Barbacoa (brisket) taco. Combining the tacos with the rice and beans was a great option (one side of this was big enough for sharing). My only caveat with the tacos was I wish they had offered the option to have flour tortilla instead of corn.

To finish off the meal we split the House Made Doughnuts, warm pillows of fried dough filled with dulce de leche – an absolute perfect end to dinner.

Finally, the service at Verde was perfect as our waitress was attentive and able to explain the menu clearly. I already have plans to be back here next week for their brunch and will certainly be coming back for dinner to try one of their main dishes.  The Carne Asada (skirt steak) with toasted garlic rice has my name written all over it.

Cheers to the staff at Verde – well done!

© Cookery for Two – 2015 . Unauthorized use and/or duplication of this material without express and written permission from this blog’s author and/or owner is strictly prohibited. Excerpts and links may be used, provided that full and clear credit is given to Cookery for Two with appropriate and specific direction to the original content.
Recipe Real Life – Pork Cutlet Sandwiches

IMG_8853

We love Parmesan sandwiches but sometimes they can be overkill with too much sauce and cheese. This version is a bit toned down and I used pork instead of chicken.  The lemon dressed arugula adds another level of texture and flavor to the sandwich and ties everything together for a fresh take on the classic Parmesan sandwich – This is a Recipe Real Life re-do!

*** Makes 2 Sandwiches ***

(Ingredients for Cutlets)

(2) Pork Cutlets / Italian Breadcrumbs / Grated Parmesan / 2 Eggs / Flour / Salt / Black Pepper / Garlic Powder / Frying Oil

(Ingredients for Building Sandwich)

(2) Portuguese Rolls / Marinara Sauce / Arugula / Fresh Mozzarella Ball / Garlic Powder / Olive Oil / Lemon / Grated Parmesan / Butter

To Note: I used some defrosted sauce I already had stored in the freezer. The sauce needed for the sandwiches is so minimal that I’d suggest using leftover sauce from another night of cooking or your favorite jarred store bought sauce.

1st Breading your Cutlets

  • Prep your space with three containers – one holding the flour, another holding the eggs and the last holding the breadcrumbs.

IMG_8835

To Note: I like to season the scrambled eggs with pepper and the breadcrumbs with garlic powder and grated Parmesan.

  • Trim the cutlets of any fat and pound them out under plastic wrap to get them nice and thin. You can use a mallet or even a rolling pin to do so.
  • Season the cutlets with salt, pepper and garlic powder.

IMG_8836

  • Dredge each cutlet into the flour, then into the egg, then into the breadcrumbs and set aside until all the cutlets are done.
  • In a frying pan set up the frying oil – set on medium heat.
  • While the oil is heating up prep the arugula leaves and mozzarella slices.
  • Slice the mozzarella into ¼” slices and place in fridge.
  • In a separate bowl take six cups of arugula leaves and toss them with a tablespoon of olive oil and the juice of one lemon. Place in fridge.

IMG_8840

  • Fry up each cutlet till a nice deep brown crust is formed. Periodically flipping them so they get an even fry.

IMG_8842

2nd Put Together the Bread & Sauce

  • Slices open the rolls.
  • In a microwave safe container melt 1 Tablespoon of butter.
  • Once melted combine with 1 Tablespoon of Olive Oil, 2 Teaspoons of Garlic Powder, 2 Teaspoons of Grated Parmesan and 1 Teaspoon of Oregano.
  • Spread the mixture on each of the four pieces of bread.
  • Place in oven to toast.
  • While bread is toasting warm up the sauce in a sauce pan. Season or drizzle some EVOO if needed into the sauce.
  • Once bread is toasted it’s time to put the sandwich together.

3rd Putting Together the Sandwich

  • Take the bottom slice of the roll and place on a plate.

IMG_8844

  • Place a bunch of the arugula leaves on the slice.

IMG_8846

  • Then place a cutlet onto the arugula.

IMG_8848

  • Next spoon about two tablespoons of sauce onto the cutlet.

IMG_8849_copy

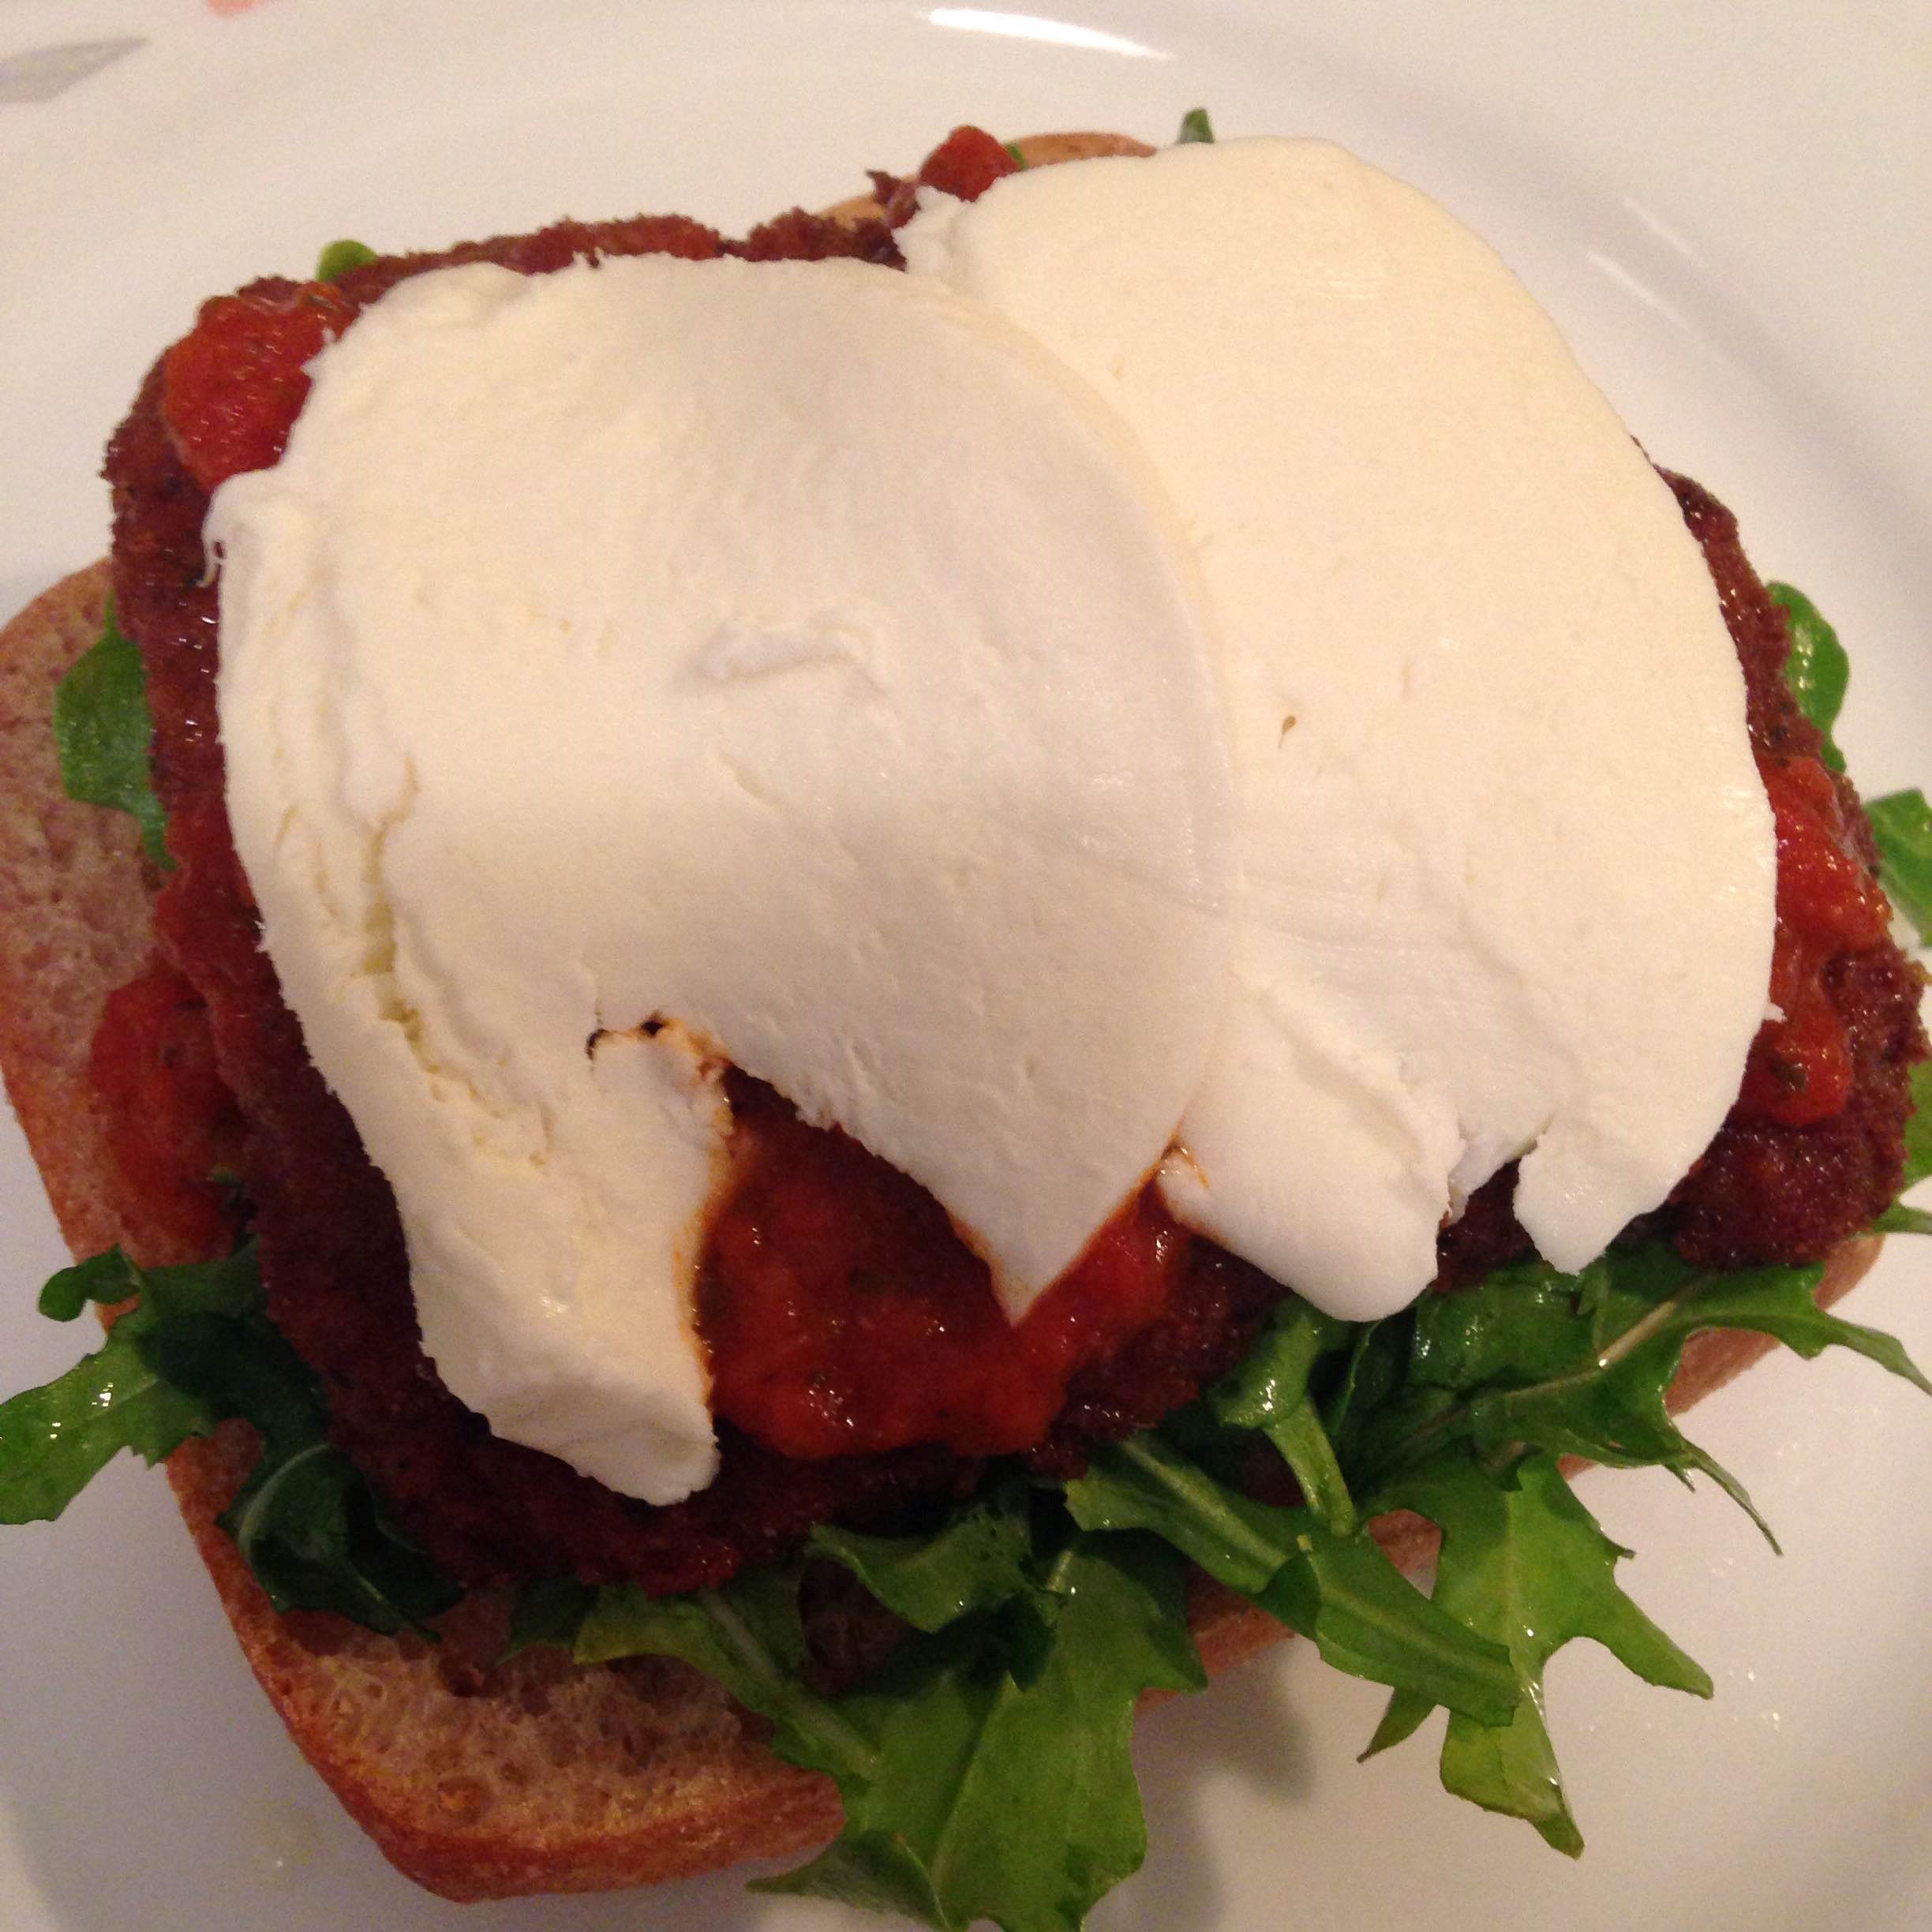
  • Then place two slices of the mozzarella and close the sandwich with the top portion of the roll.

IMG_8851_copy

  • Cut in half and serve on a plate with a portion of the arugula leaves.
  • You can also pair the sandwiches with some grilled veggies or a tomato and balsamic salad.

Enjoy!

© Cookery for Two – 2015 . Unauthorized use and/or duplication of this material without express and written permission from this blog’s author and/or owner is strictly prohibited. Excerpts and links may be used, provided that full and clear credit is given to Cookery for Two with appropriate and specific direction to the original content.
Cookery for Two is Back!

After quite the hiatus – Cookery for Two is back in action.

I’ve still been busy in the kitchen but taking the quicker route and posting photos on Instagram for my friends and followers to drool over.

During my hiatus from the blogging world many friends and family have asked why did I stop and some brought me back to my original blogging days when I used to write restaurant reviews – letting me know they missed that too.

With the blow up of a site called Pinterest, the ever growing popularity of The Food Network Channel, The Cooking Channel and various wonderful cookbooks making it to the best seller lists its hard to not be inspired by others in the kitchen.

I’ve been trying out other recipes and loving them – I’ve also tried tweaking some of them to suite my palette. 

With that being said I’ve decided to focus Cookery for Two on three distinct types of postings. 

IMG_8826

My Kitchen My Way Here I will continue to post family recipes, or cooking ideas I whip up myself in the kitchen. Posting photos, ingredients and directions. I’ll sometimes make suggestions for ingredient swap outs to cater to those with various palettes or budgets.

IMG_8832

Recipe Real Life Here I will talk about my experience in trying to replicate various recipes from cookbooks and online sources. Reviewing each of them on how easy, how expensive and how great they actually are. Photos, directions, ingredients lists to be provided for each post of course.

IMG_8822

Out of The Kitchen Here I will give those looking for restaurant reviews exactly what their looking for. A breakdown of the ambiance, the service, the food and the drinks. I often like to go out with my husband trying new places on Long Island or in NYC. Also dining out with friends and family or visiting popular foodie spots when on vacation. I will include all those experiences here – photos and all.

Look out for new postings this coming month and Thank You again to all those who have pushed me to start sharing again.

~ Cookery for Two 


© Cookery for Two – 2015 . Unauthorized use and/or duplication of this material without express and written permission from this blog’s author and/or owner is strictly prohibited. Excerpts and links may be used, provided that full and clear credit is given to Cookery for Two with appropriate and specific direction to the original content.

Panko Crusted Rollatini

This is a great recipe to make with the guarantee of leftovers or for a friend who is in town and might be visiting. It’s fairly simple but has a number of steps – the end result is a delicious and filling Italian inspired meal. The ingredients used can always be swapped around for a more customizable culinary experience and the recipe can always be doubled to serve a larger dinner party.

(Ingredients)

Garlic Powder, Salt, Black Pepper, Red Pepper Flakes, Dried Oregano

Grated Parmesan Cheese

Olive Oil

Corn Starch

Panko Bread Crumbs

Toothpicks

Pastry Brush

(6) Thin Sliced Chicken Breasts

(6) Slices of Prosciutto Di Parma

(6) Slices of Deli Mozzarella

Low Sodium Chicken Broth

Red Wine

Marsala Wine

Mushrooms

(Directions)

– Pre-heat oven to 375 degrees.

– In a shallow baking dish place ¼ cup of red wine and a ¼ cup of chicken broth.

– Sprinkle in garlic powder, black pepper and a drizzle of olive oil and set the dish off to the side.

– Now take each chicken breast and lay out flat in front of you, take one piece of prosciutto and place on top of chicken, then a piece of mozzarella and place on top of the prosciutto.

– Roll up tightly the chicken and secure with two to three toothpicks.

– Now with the pastry brush coat each Rollatini all the way around with a thin layer of olive oil and season lightly with salt.

– In a separate dish you will combine a cup of panko bread crumbs, a sprinkle of the parmesan cheese along with a sprinkle of black pepper and dried oregano.

– Take each roll and dunk into the panko mixture, turn and press mix into the chicken till it’s fairly covered then lay gently into the baking dish.

– Drizzle small amount of olive oil over the rolls to help them brown.

– Now place the baking dish uncovered into the oven.

–  While the chicken is cooking you can make the mushroom sauce.

– In a saucepan bring ½ cup of red wine and a ½ cup of Marsala wine to a simmer.

– Throw in the fresh mushrooms and put heat on low.

– Season the sauce with red pepper flakes, garlic powder and black pepper.

– Simmer till mushrooms have softened.

– Now gradually whisk in a table spoon of cornstarch.

– You will notice that the sauce will start to thicken.

–  Be sure to get all the clumps of cornstarch out by continually whisking.

– You can keep the sauce on very low heat while the chicken continues to cook.

– Depending on how thin the chicken breasts are it should take only about 30-45 minutes for the Rollatini to be cooked through.

– You should notice the cheese oozing out and the panko browning into a nice crisp crust.

– When ready to serve, remove from oven and be sure to remove the toothpicks in each roll.

– Plate two Rollatini on top of a side of your choosing and drizzle mushroom sauce over the plate.

Enjoy! 

*Feel free to serve over a bed of wilted spinach, mashed potatoes or even creamy polenta on this evening I used a quick prepare mushroom pilaf.

*You can always try different fillings or even season the panko differently if you want.

*I served before dinner a salad of fresh tomatoes and mozzarella.

529708_903691173723_24203989_39653813_1224098269_n

– A.M.A –

© Cookery for Two – 2012 . Unauthorized use and/or duplication of this material without express and written permission from this blog’s author and/or owner is strictly prohibited. Excerpts and links may be used, provided that full and clear credit is given to Cookery for Two with appropriate and specific direction to the original content.

Spaghetti Ratatouille

Ratatouille a word synonymous with French Cooking is a combination of nutritious vegetables either sautéed or presented in a layered fashion.  Mostly served as a side dish but when combined with pasta it makes a hearty and colorful dish sure to please. During this Lenten season where there are many days you’re asked to refrain from consuming meat this dish is the perfect meal to serve up. Enjoy with a nice glass of red wine and don’t be shy with the parmesan!

Ingredients:

Salt, Pepper, Garlic Powder, Hot Pepper Flakes

Olive Oil

One Cup of Low Sodium Vegetable Stock

½ Cup of Red Wine

One Yellow Squash – Sliced

One Green Squash – Sliced

Three Tomatoes from the Vine – Chopped Chunky

Garlic – (3) Gloves Minced

Basil Leaves – About 6 – Torn Up

½ a Box of Spaghetti

Parmesan Cheese

Directions:

-On medium heat warm up a tablespoon of olive oil in a sauce pan.

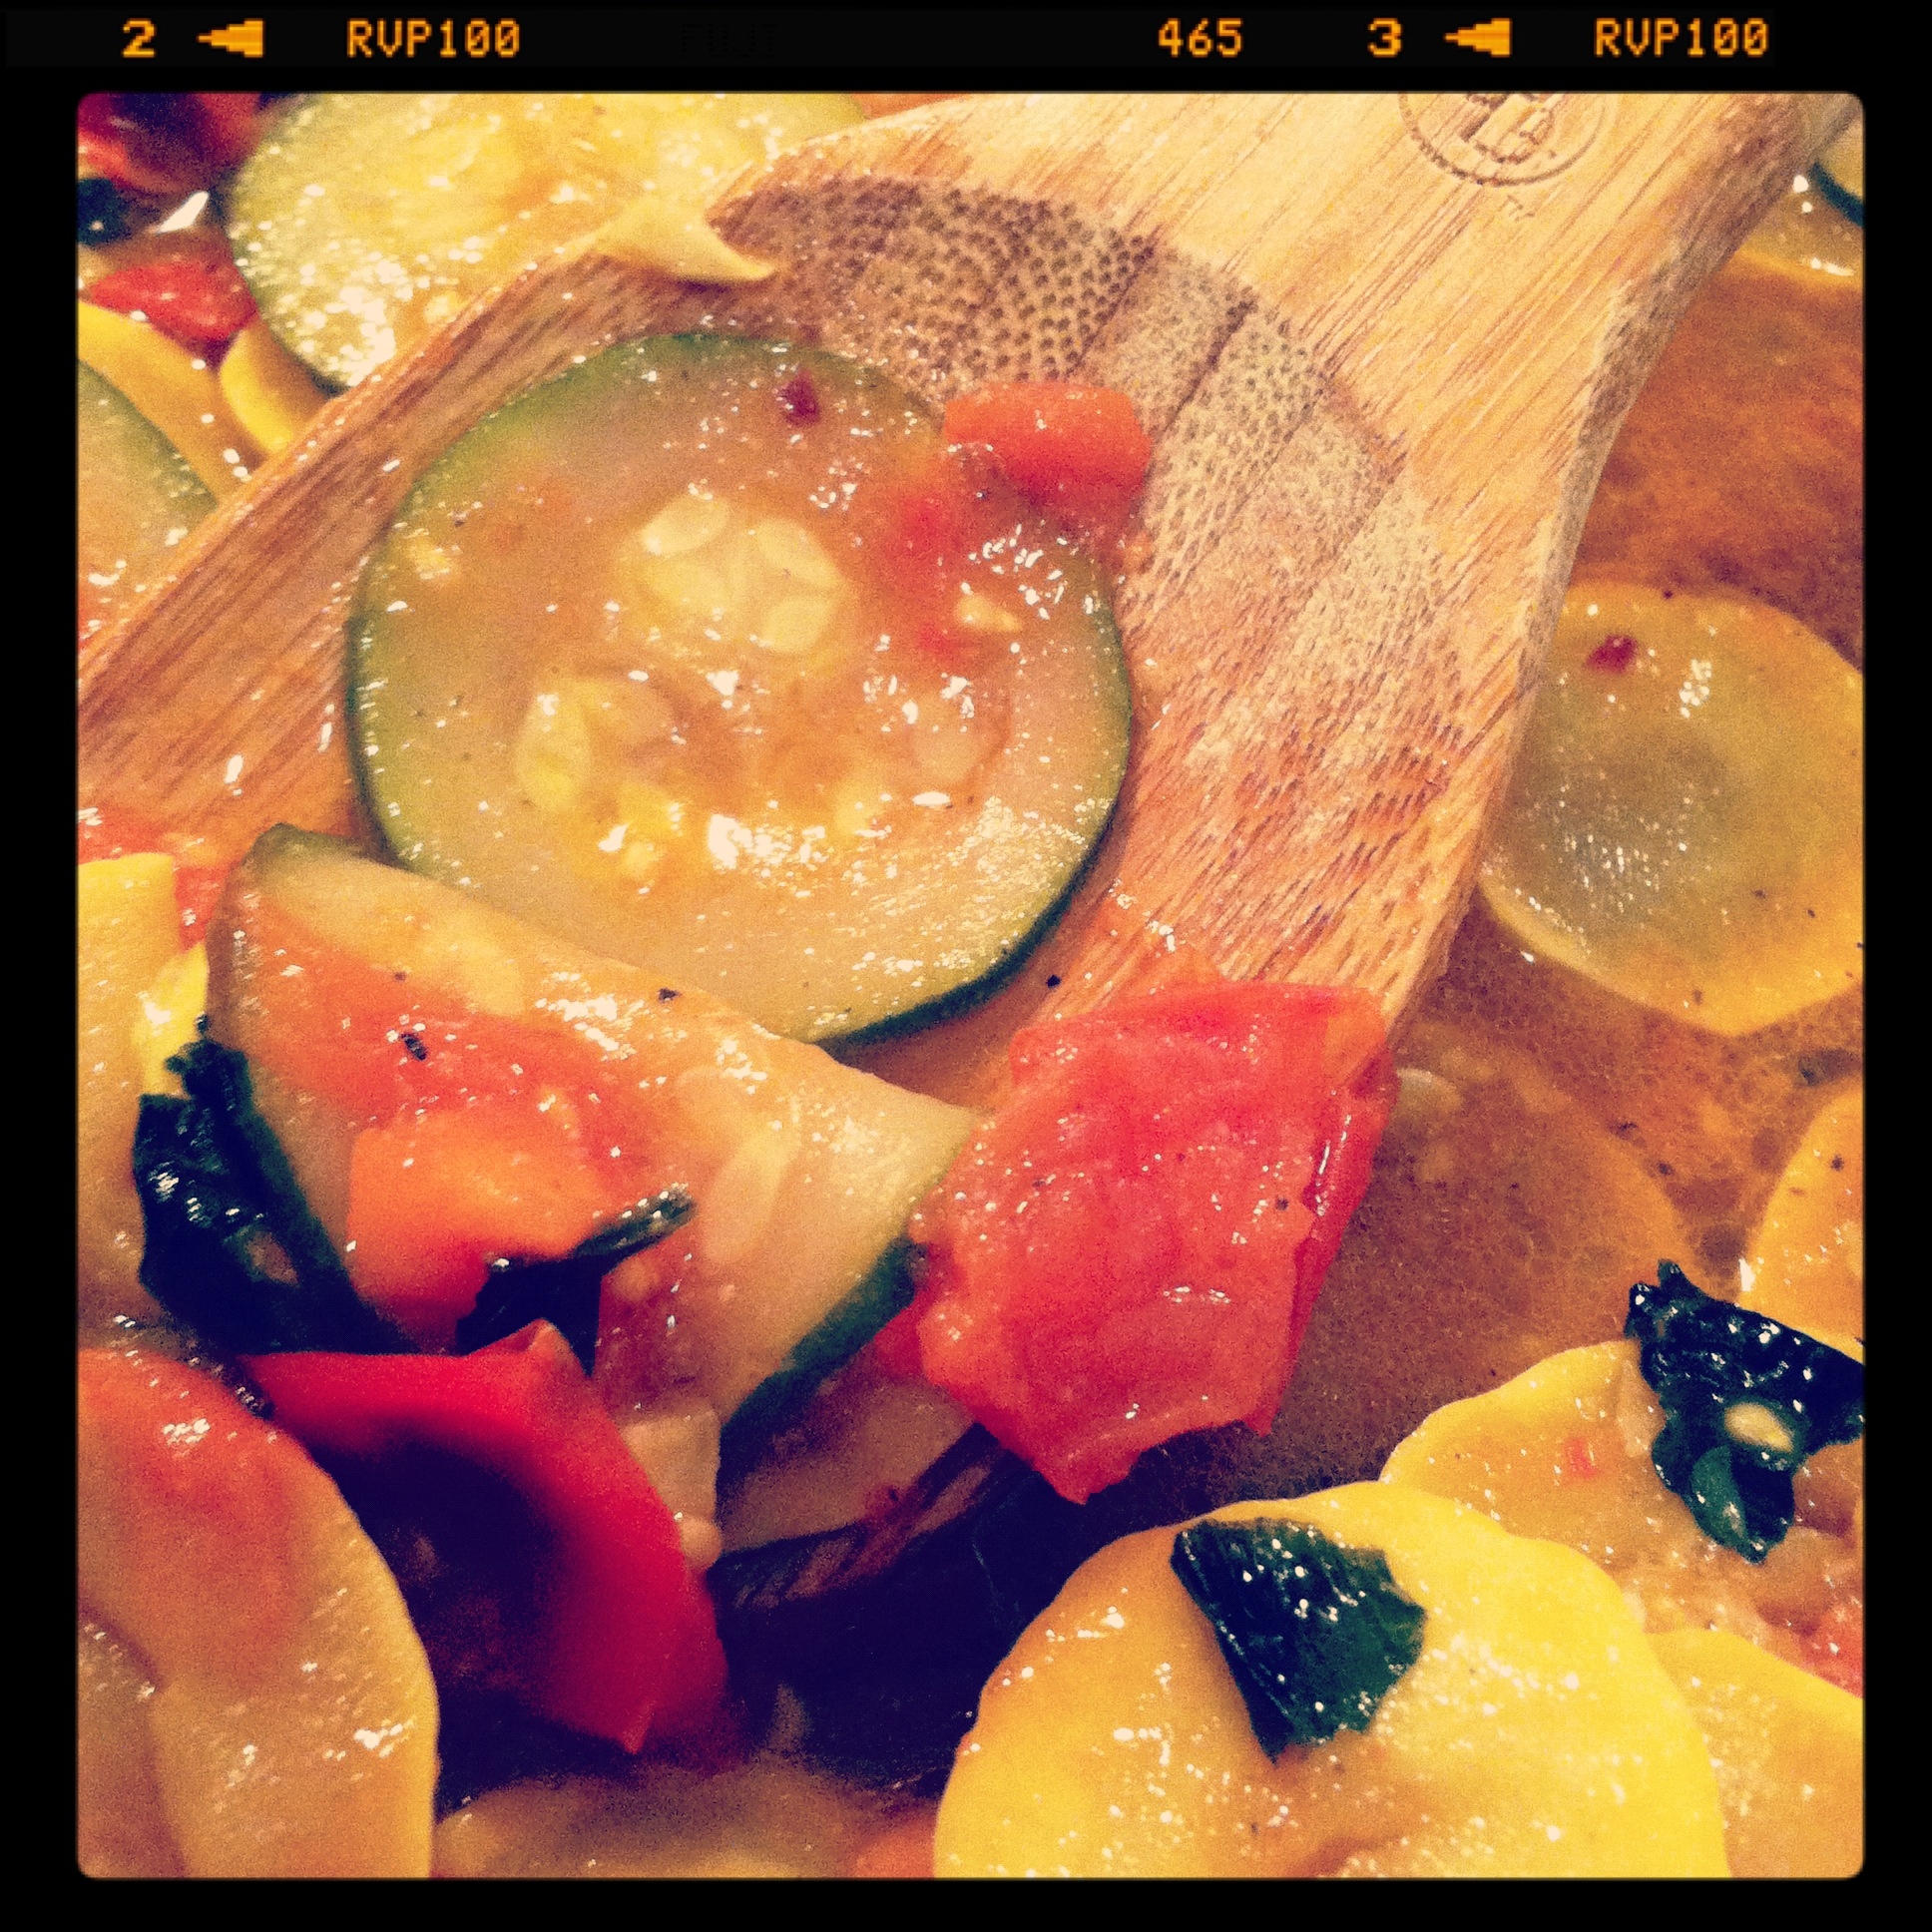
-You will at any point throw in the squash you have sliced up and season with salt, pepper and garlic powder.

-Next add in the stock and the red wine then cover the pan and let simmer on moderately low heat.

– You will notice the squash will begin to soften when you see this you can add in the tomatoes.

– Season the mixture again with salt, pepper and garlic powder and let simmer covered for another two minutes or so.

– Once all is cooked through turn off heat and remove all contents including liquid and place in a bowl off to the side.

– Begin the boil your pasta water in a stock pot.

– Now you will warm up olive oil again in the sauce pan used previous – this time three table spoons.

– You will fry up the garlic, olive oil and hot pepper flakes – then place the previous vegetable mix into the pan and combine.

– You will want this all to simmer on very low heat to keep warm while your spaghetti is boiling.

– Once spaghetti is boiled – drain and then combine directly into the sauce – continue to mix until all is combined.

– Plate, top with Parmesan and enjoy!

~ A.M.A ~

© Cookery for Two – 2012. Unauthorized use and/or duplication of this material without express and written permission from this blog’s author and/or owner is strictly prohibited. Excerpts and links may be used, provided that full and clear credit is given to Cookery for Two with appropriate and specific direction to the original content.
Thai Basil Steak

We love this Asian Fusion bistro that’s in the area and they make this dish called Thai Basil Steak – one of my absolute favorites. I decided to try and re-create the dish at home and what a success. This dish is vibrant in flavor – the salty sweet combination of the soy sauce and honey. Then the heat from the chili pepper hits the back of your tongue and your taste buds just explode. Serve over basmati rice and you’re taken to another world with this meal.

Ingredients:

Black Pepper & Garlic Powder

Olive Oil

Low Sodium Soy Sauce

Fish Sauce

Mirin

Cornstarch

Brown Sugar

Honey

(1) Clove Garlic

(1) Green Chili Pepper

(2) Bell Peppers

Mushrooms

Basil

½ of One Shallot

London Broil

Basmati Rice

Pre-Cooking Notes:

*To make the London Broil easier to cut – I used a frozen cut of meat and thawed it out till it was soft on the outside but still a bit frozen on the inside.

*For your chili pepper be sure to remove the seeds and wash down the pepper – believe me the pepper alone will create allot of heat.


Directions to Make Sauce:

– In a bowl combine (1) cup of soy sauce, (2) teaspoons of fish sauce, (2) tablespoons of brown sugar, (2) tablespoons of mirin, (2) tablespoons of corn starch.

– Mix till the liquid thickens a bit and then place off to the side.

Directions to Cooking Vegetables & Beef:

– Brown chopped shallot and garlic in olive oil in a sauce pan.

– Add in mushrooms and cook through a bit.

– Next add in the sliced bell peppers and continue to sauté all till cooked through.

– Now you will add in about (2) tablespoons of honey and continuing cooking.

– Next throw in the cleaned and chopped green chili pepper.

– Throw in sliced beef season mix with black pepper and garlic powder.

– Once beef is slightly browned throw in a large handful of basil.

– Top all with the sauce from the bowl (mix the sauce before placing in sauce pan).

– Cover and let simmer till basil is wilted.

*While the basil is wilting you can microwave the basmati rice then plate a portion of rice on each plate.

– Once the basil is wilted – turn off heat and meat should be cooked enough where it’s still a bit rare inside.

*If you prefer the meat to be well done cook a bit longer.

– Ladle the beef mixture on top of rice and serve.

Enjoy!


~ A.M.A. ~

© Cookery for Two – 2012. Unauthorized use and/or duplication of this material without express and written permission from this blog’s author and/or owner is strictly prohibited. Excerpts and links may be used, provided that full and clear credit is given to Cookery for Two with appropriate and specific direction to the original content.

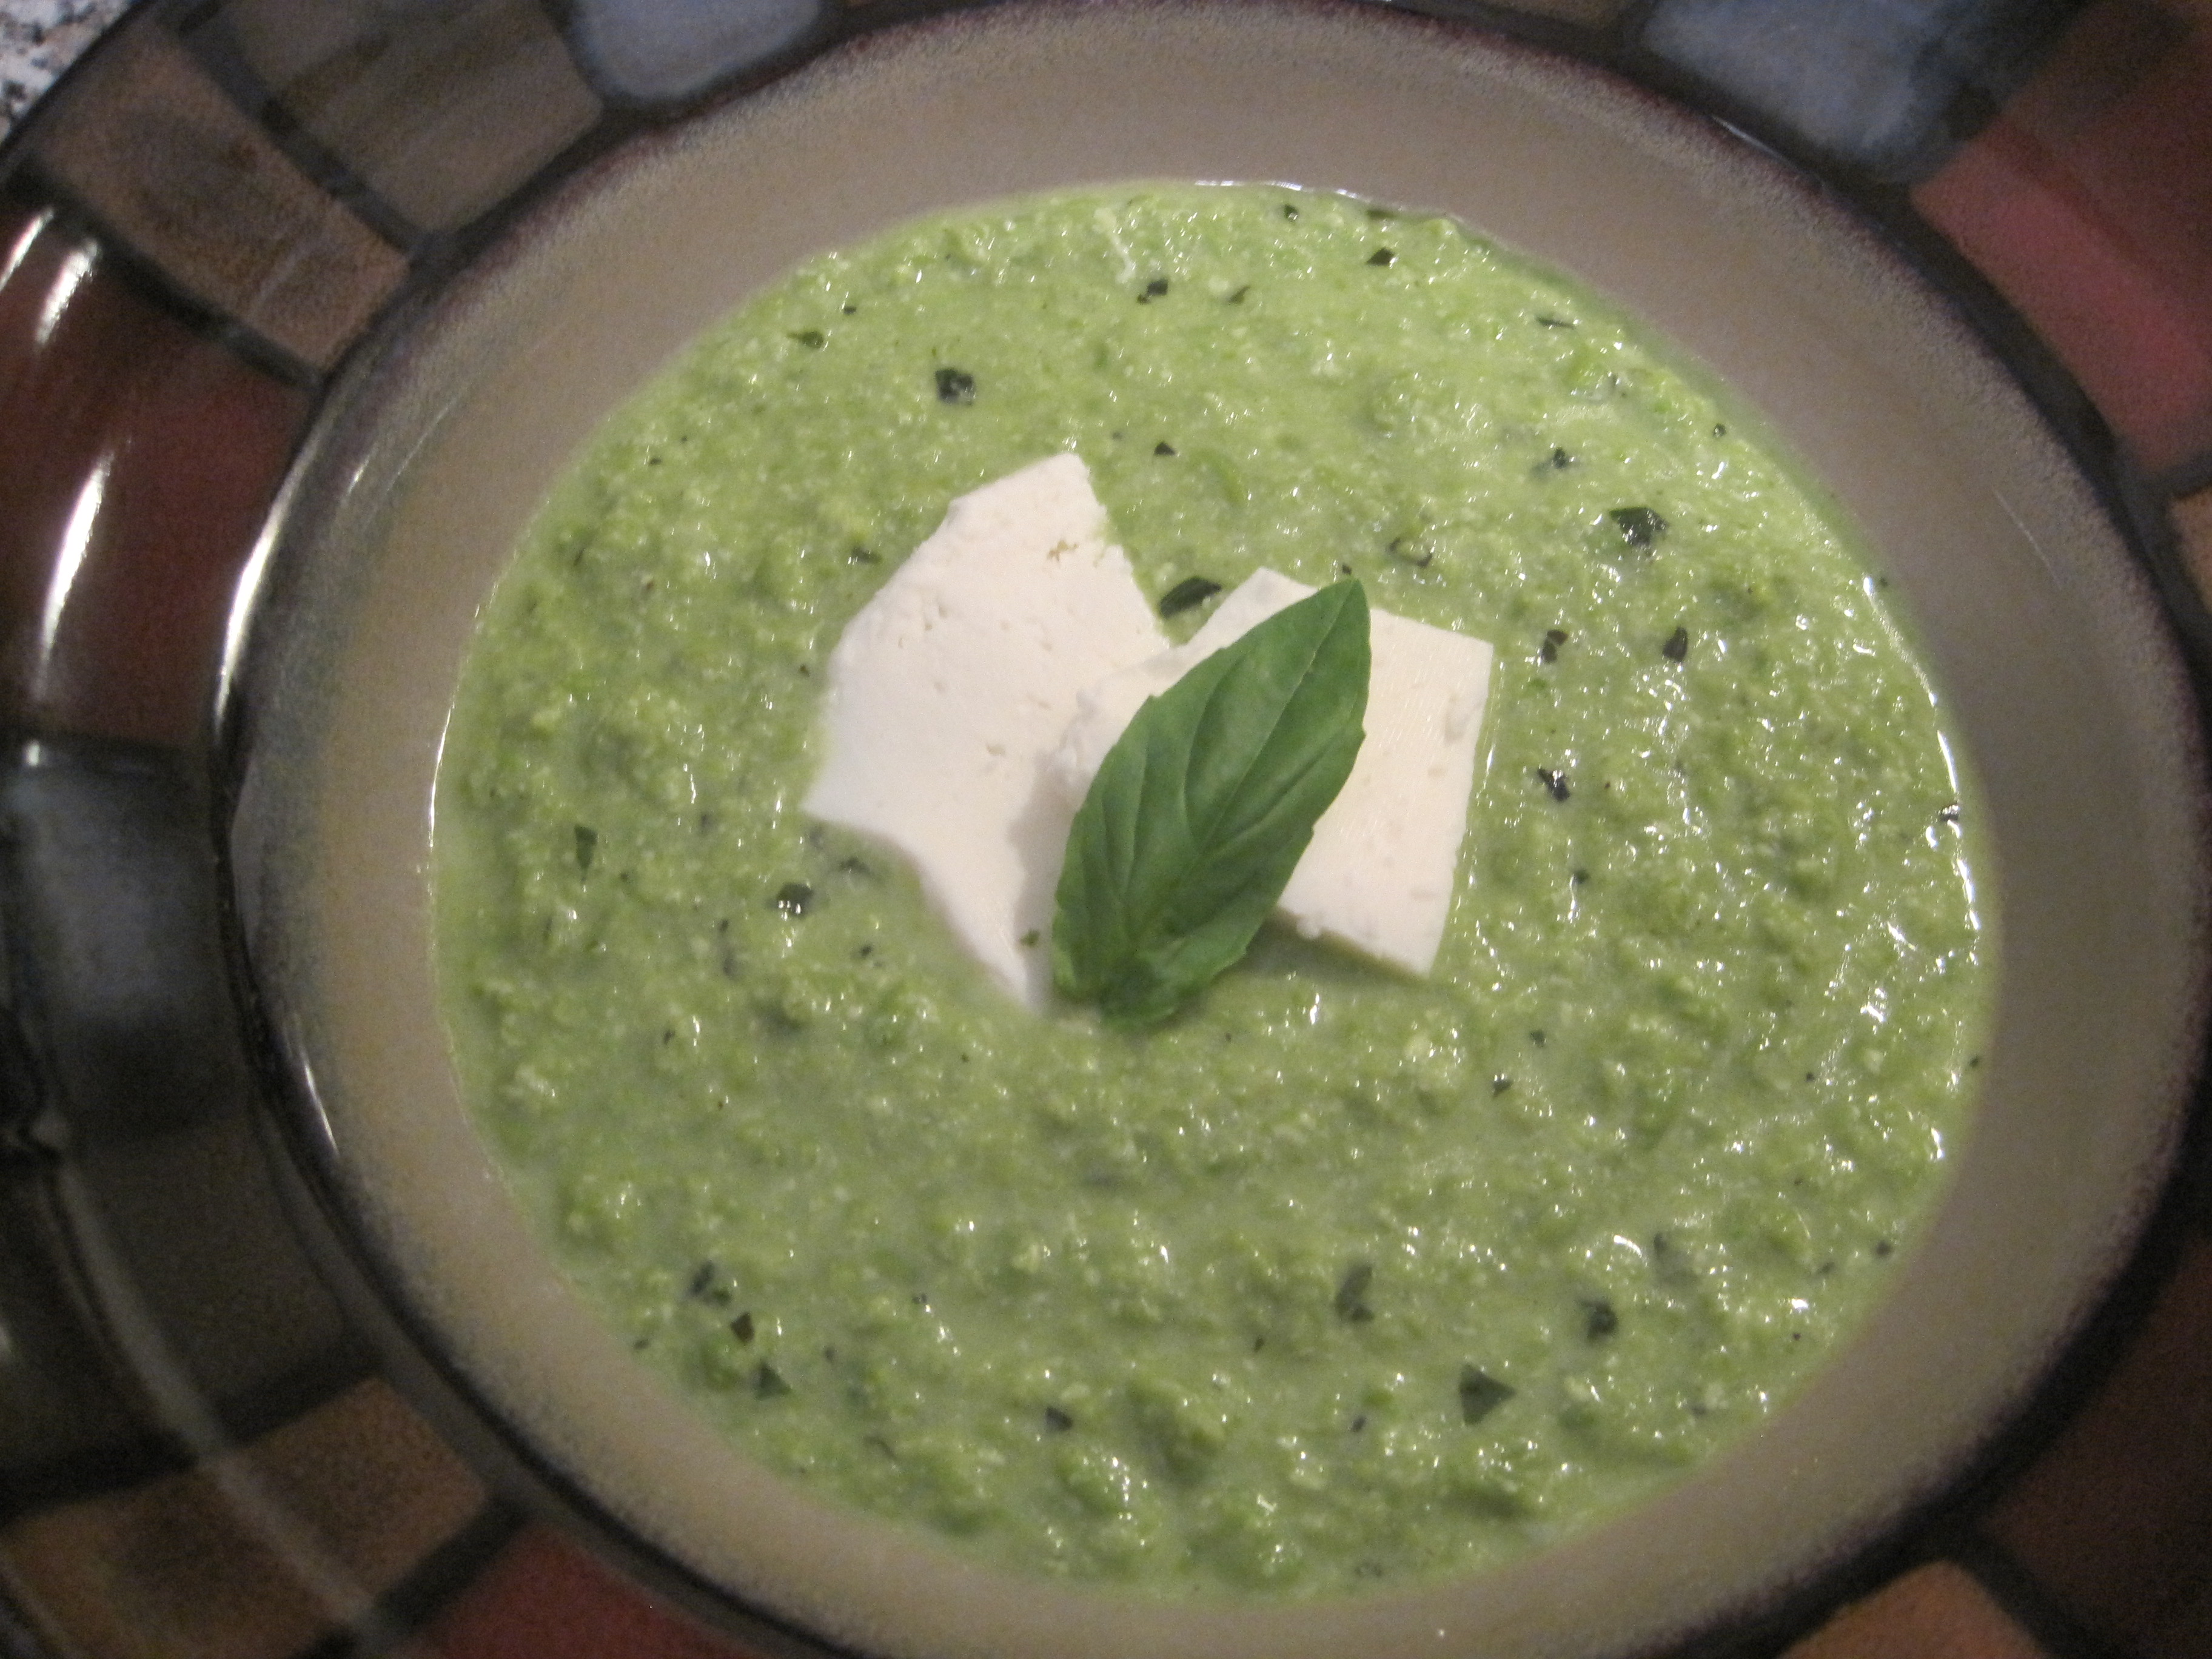
Creamy Pea Soup

My mom would gladly confirm I have NEVER been a fan of peas, so isn’t it swell that the love of my life happens to be a fan of such vegetable. A recipe we saw on TV caught his eye and he’s been asking me to try it out but I decided to add two things which would make the soup much better for my taste buds, lots of basil and of course heavy cream.

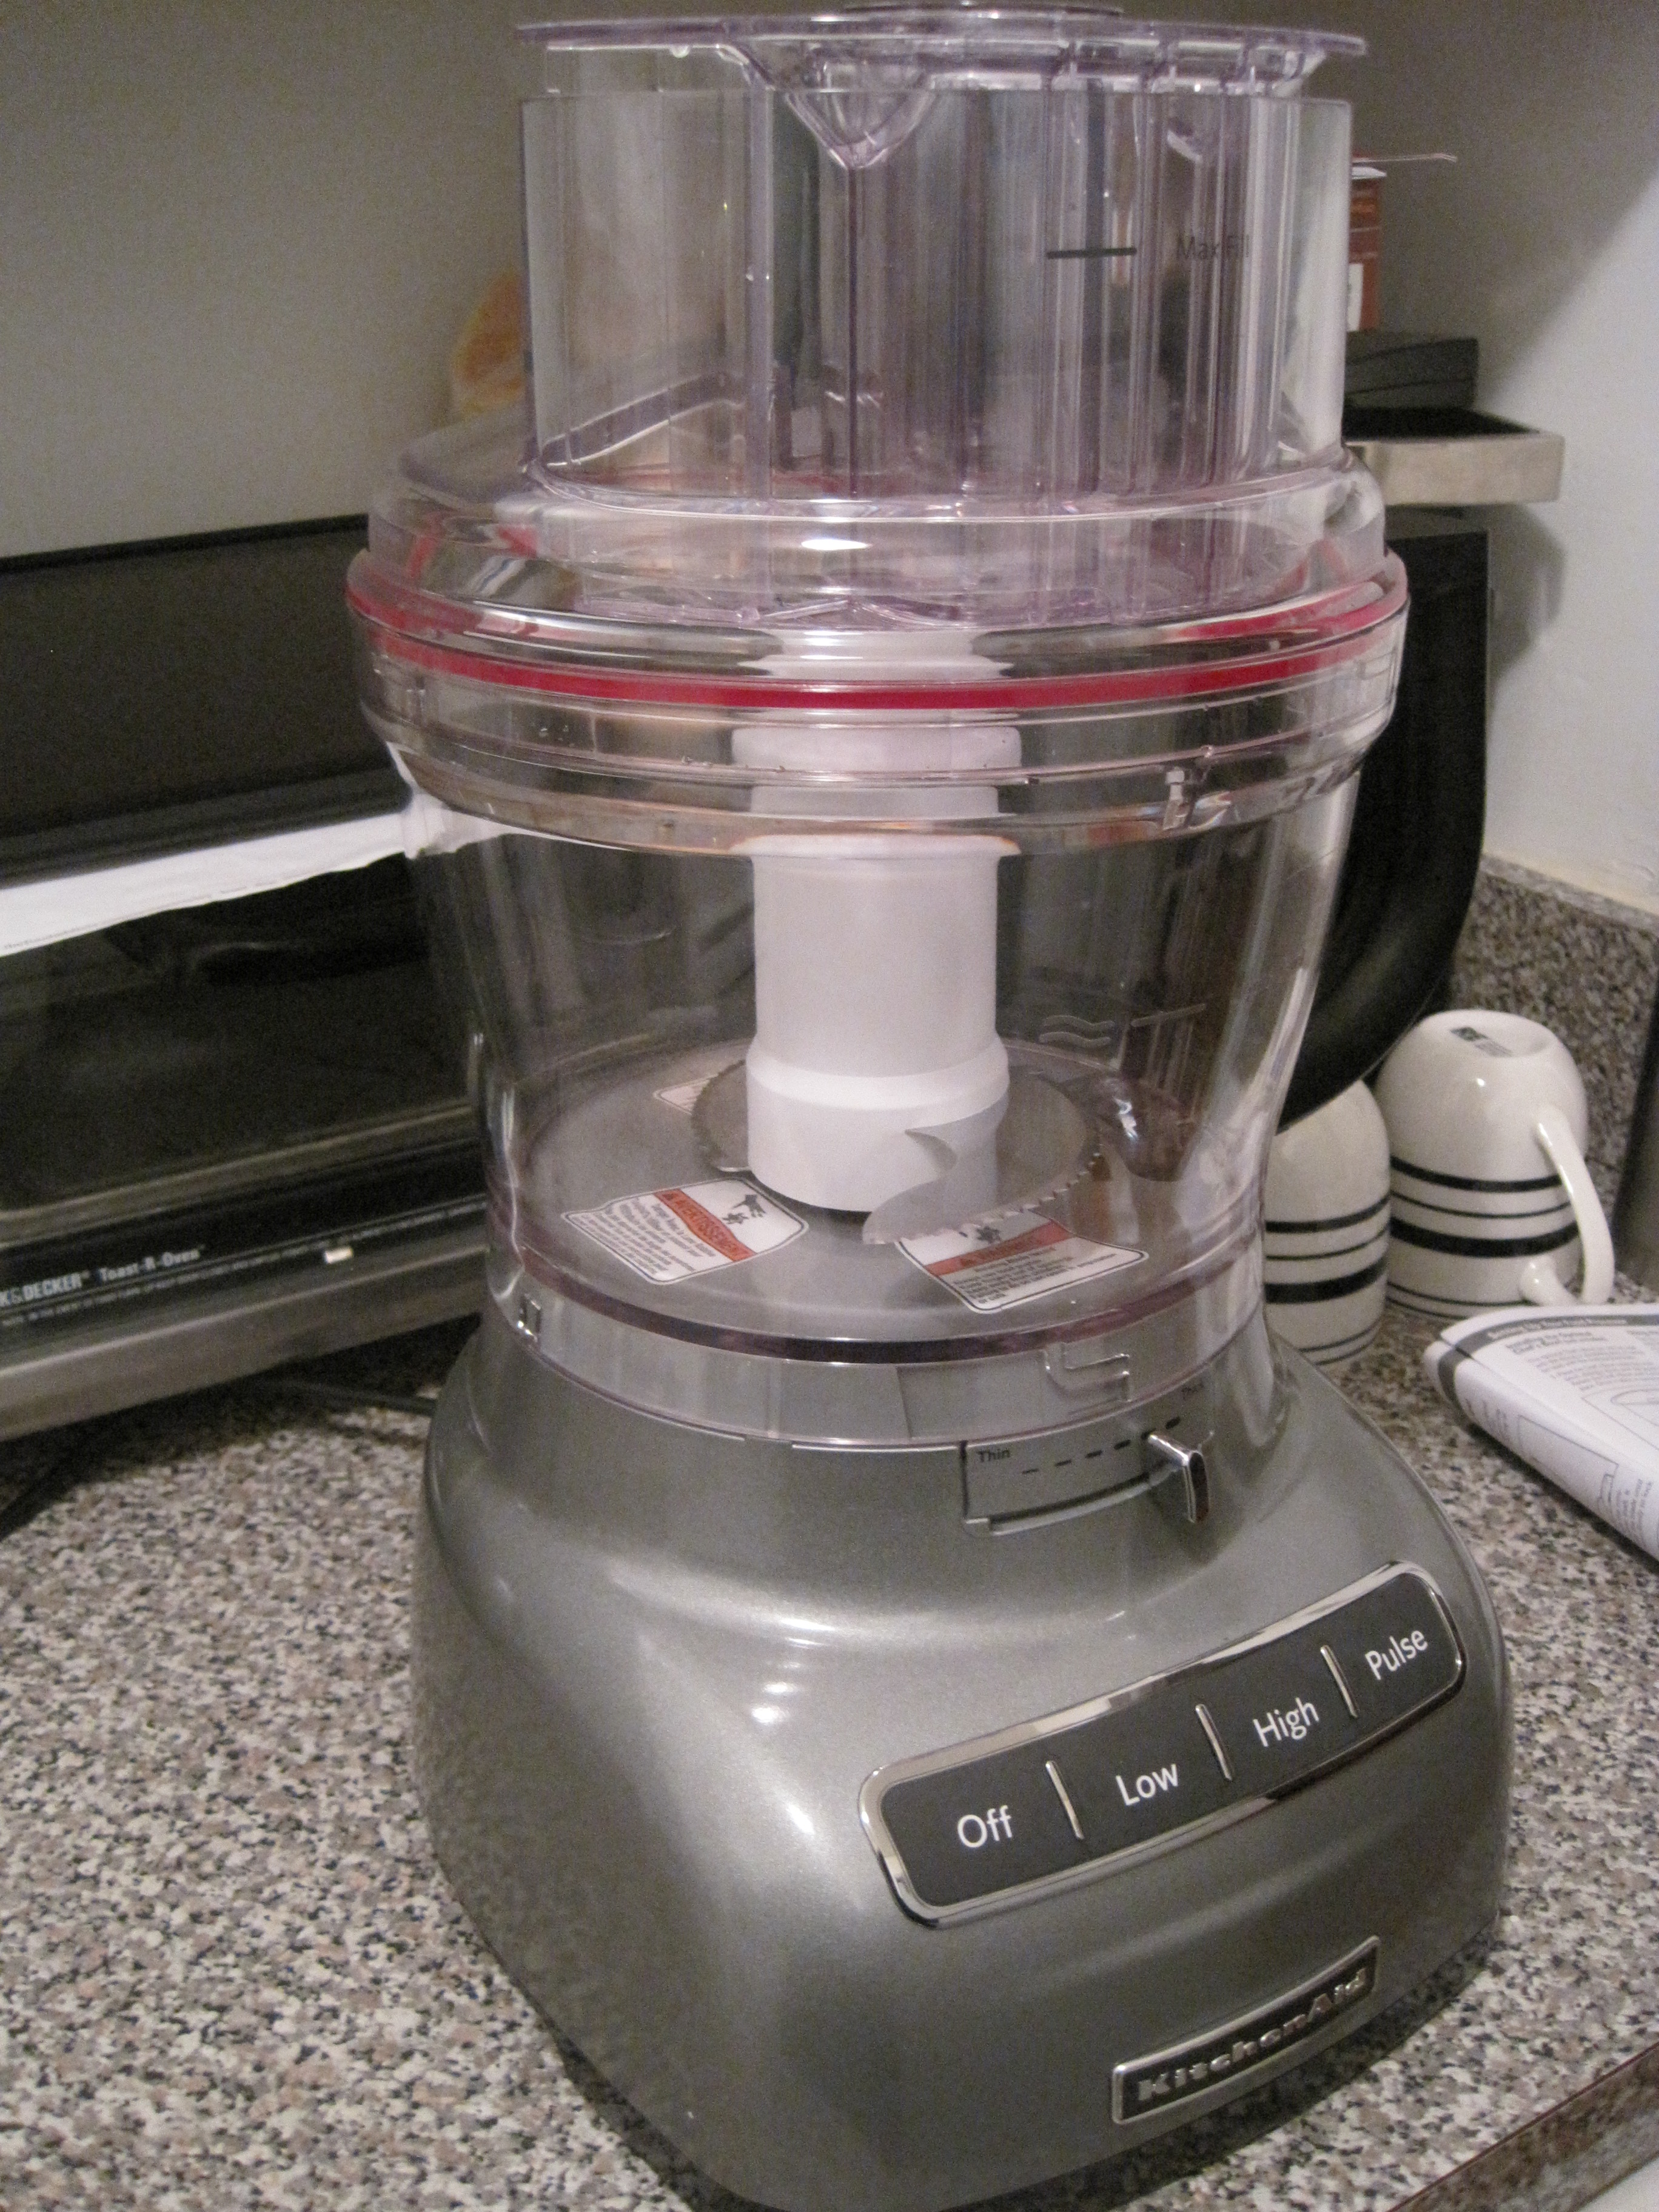
This also gave me the opportunity to use my new food processor which he so kindly gifted me on Christmas. You should have seen how my eyes lit up when I opened it!

On a cold night go ahead and pair this soup with a mozzarella and tomato Panini or throw in some grilled jumbo shrimp with garlic croutons and you have a terrific one bowl meal.

(Ingredients)

Seasonings: Salt, Pepper, Garlic Powder, Olive Oil

1 Cup Heavy Cream

2 Cups of Low Sodium Chicken Broth

2 Handfuls of Basil Leaves

1 Pack of Frozen Peas

5 Pearl Onions – Peeled and Cut in Half

2 Cloves Garlic – Chopped

1 Medium Mozzarella Ball – Cut Up in Pieces

(Directions)

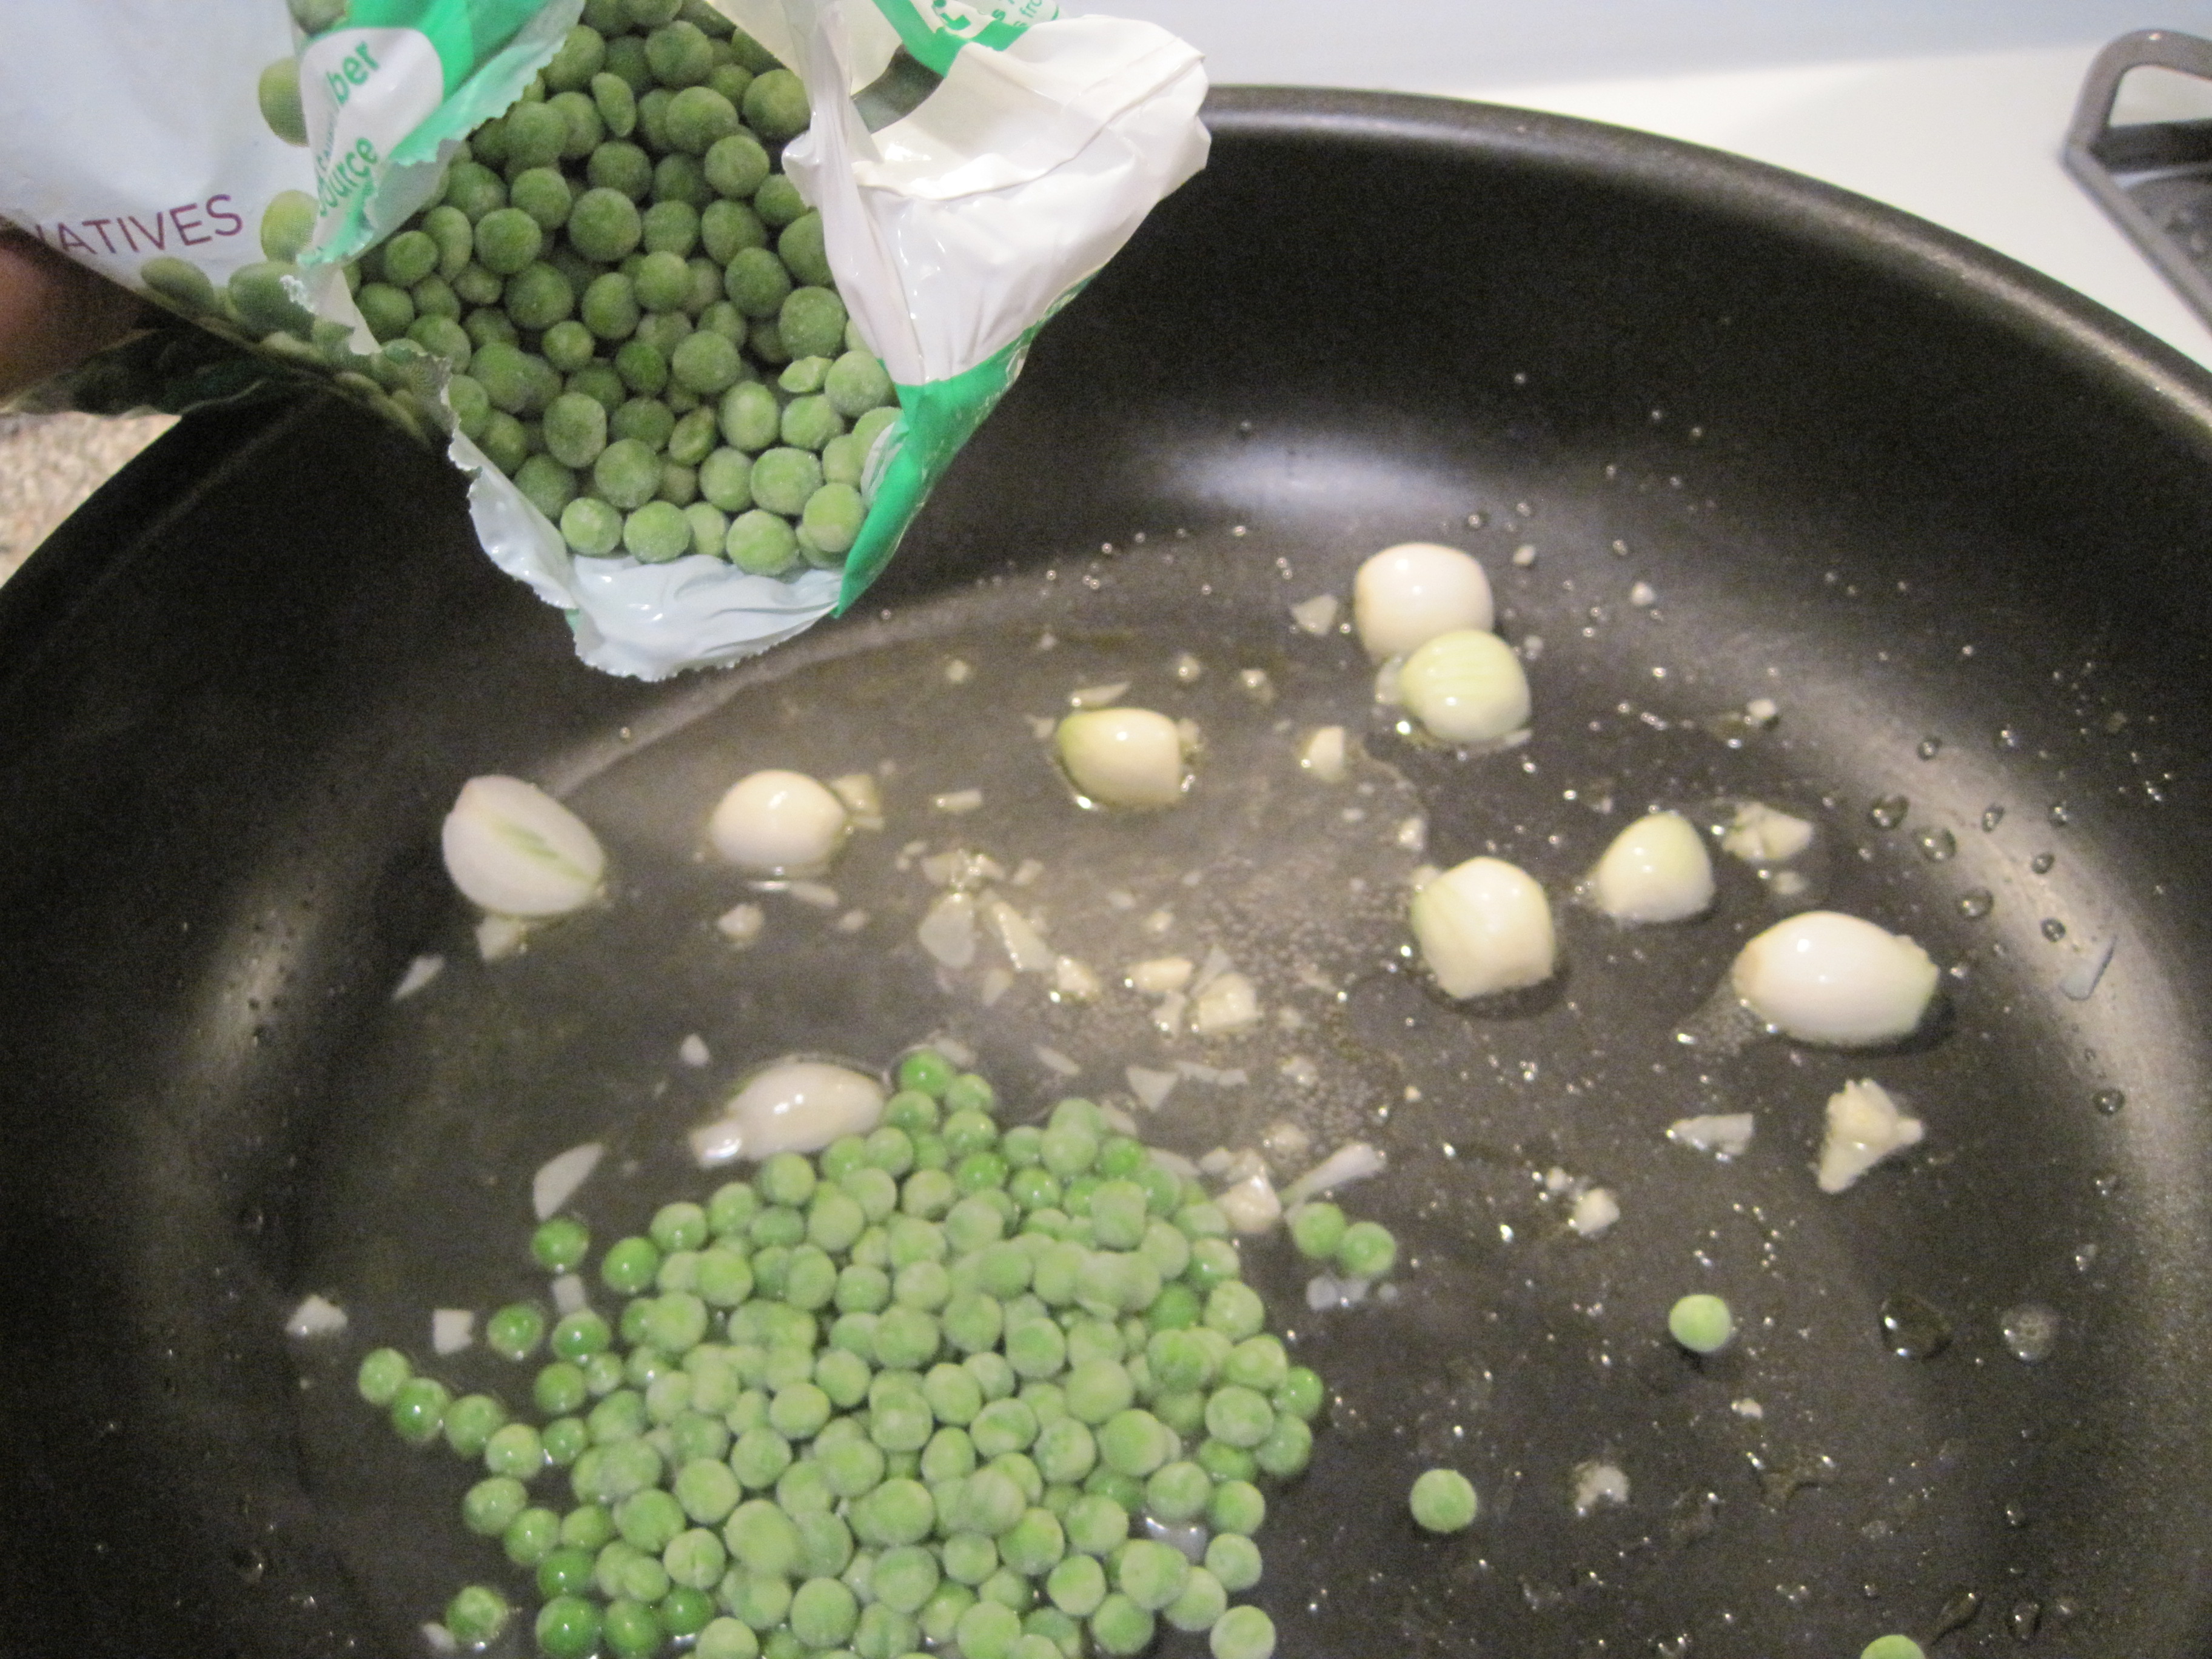
– In a sauce pan brown the garlic and pearl onions in a tablespoon of olive oil.

– Then add in 1 cup of the chicken broth and season with salt, pepper and garlic powder.

– Next throw in the frozen peas and let simmer covered on low.

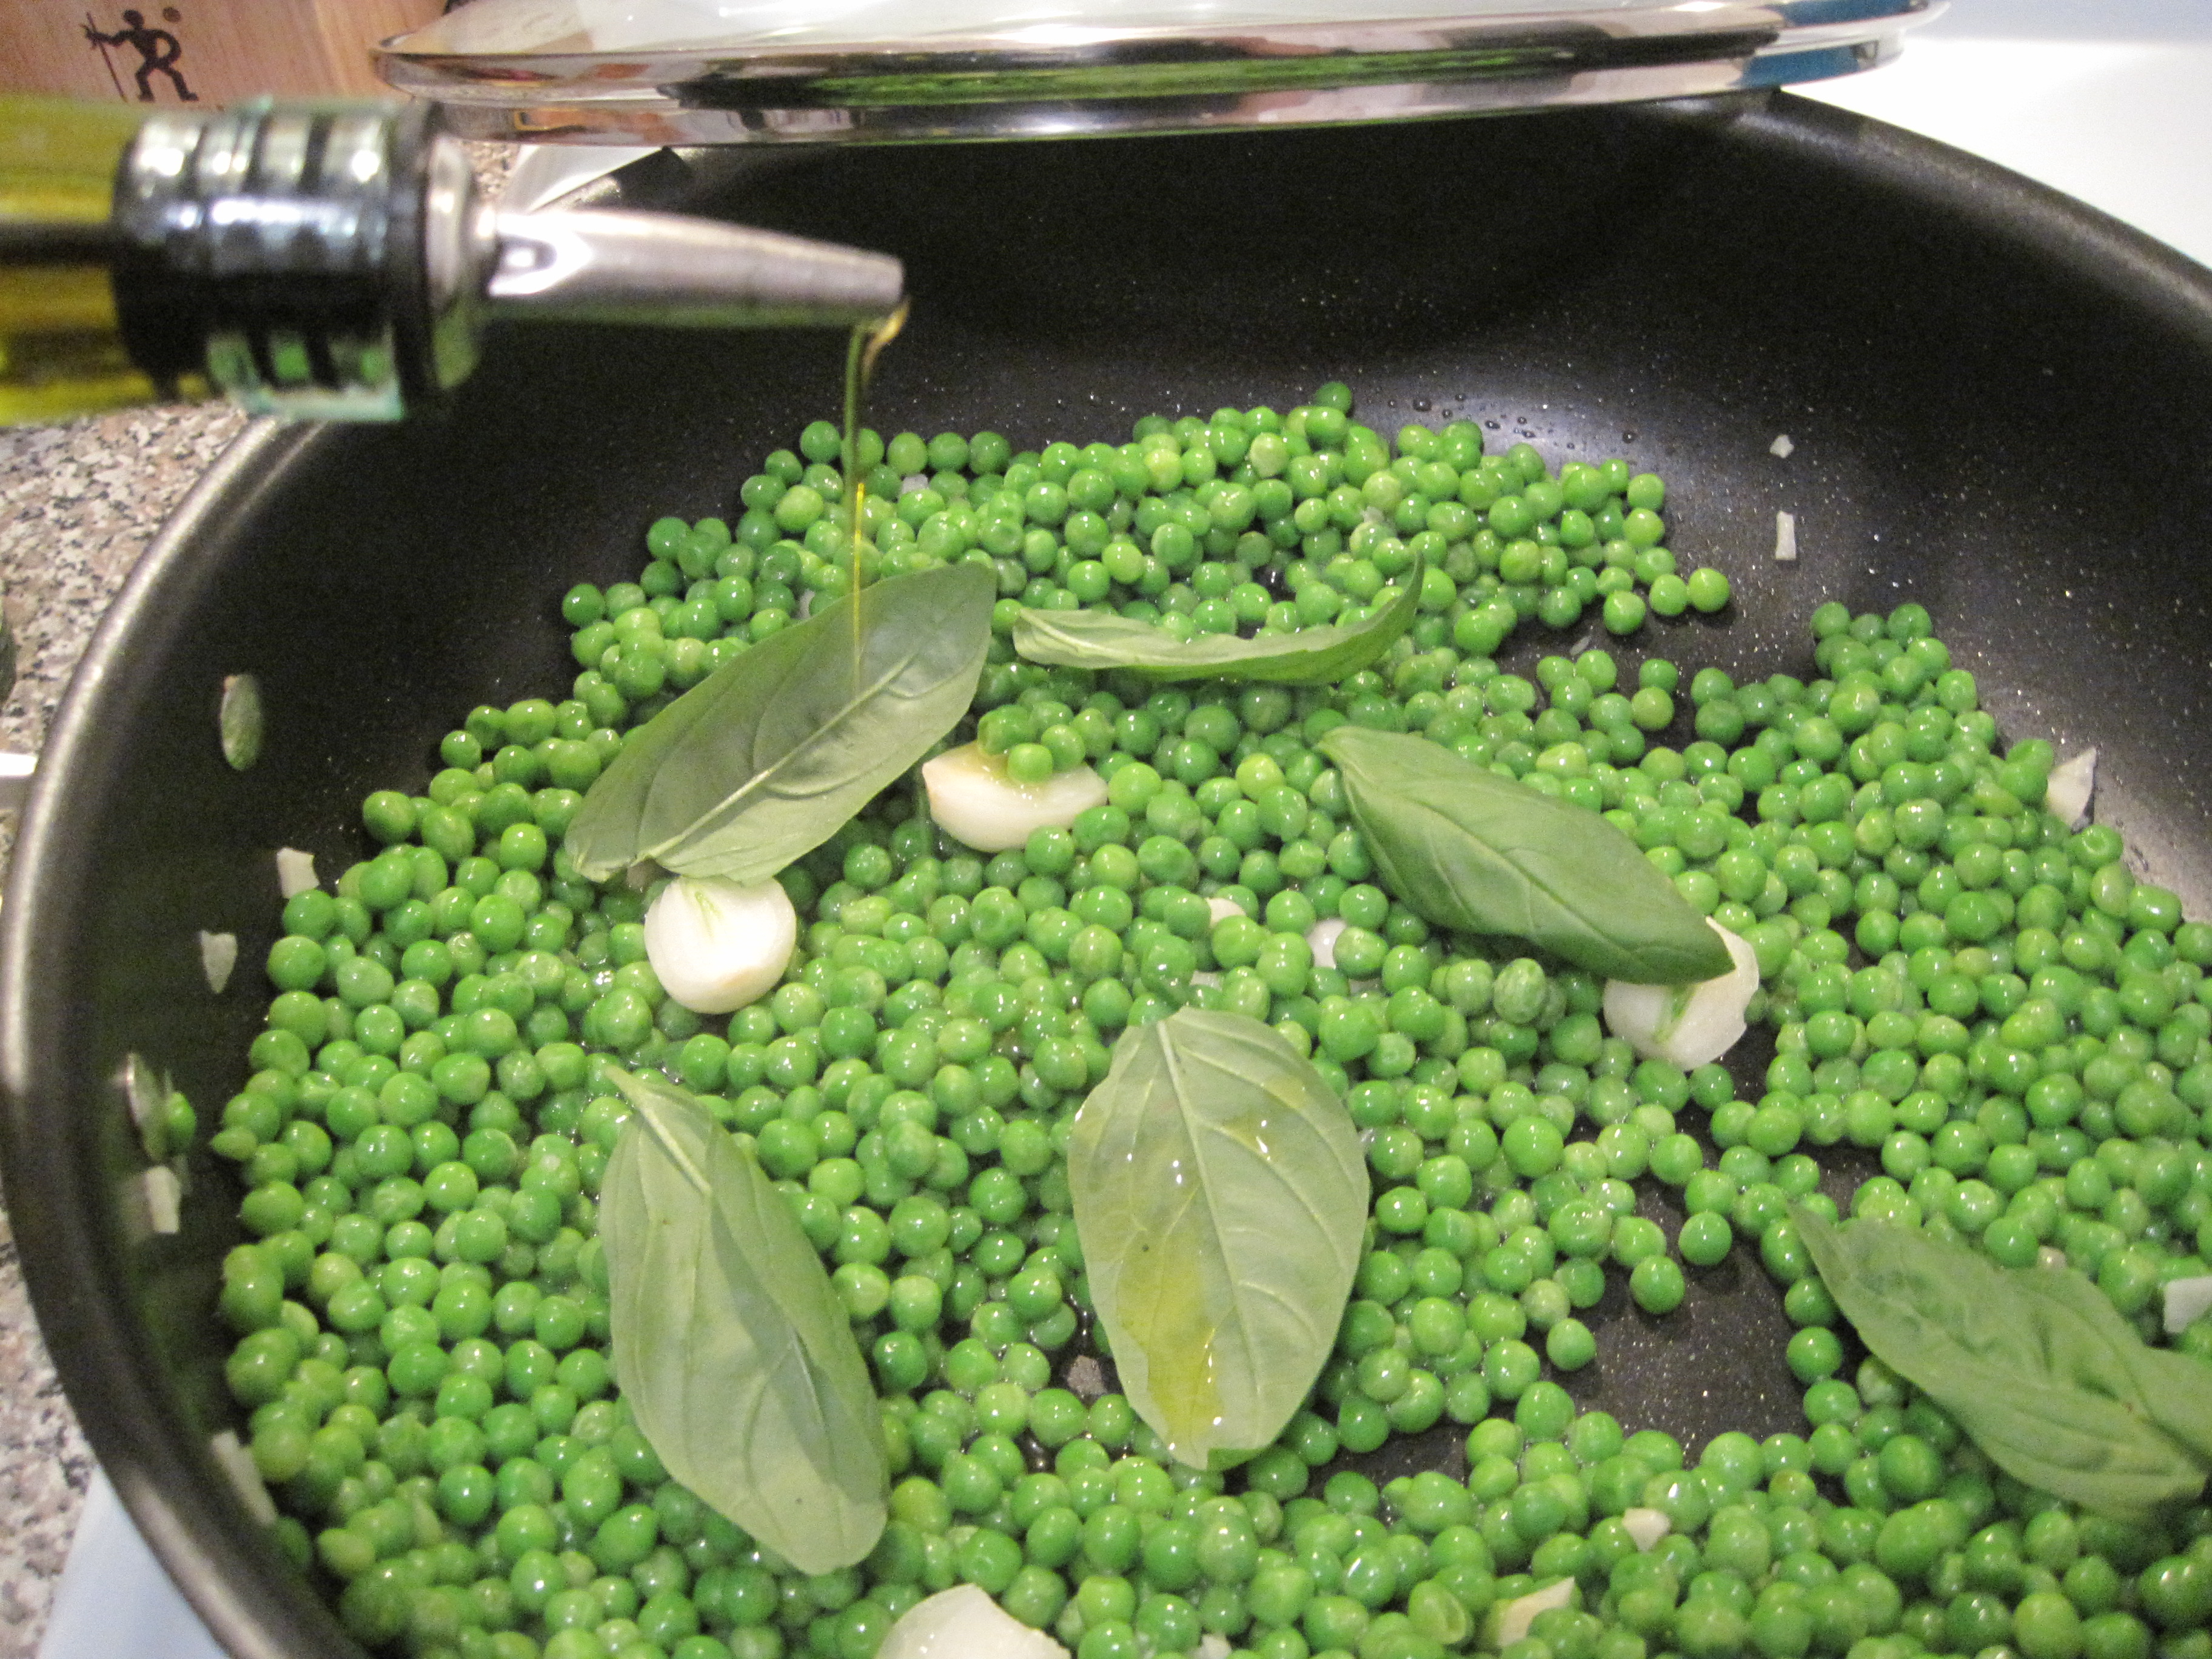
– When peas are cooked through throw in a couple of basil leaves, drizzle olive oil then mix.

– Keep simmering until the basil is wilted then remove pan from flame.

*Must let mix cool down for five minutes before transferring to the food processor.

– Process on low till contents are chopped.

* You may need to stop the processor & push food down the sides to make sure all pieces get chopped.

– As you are chopping on low add the 1 cup of heavy cream through the small feeding tube.

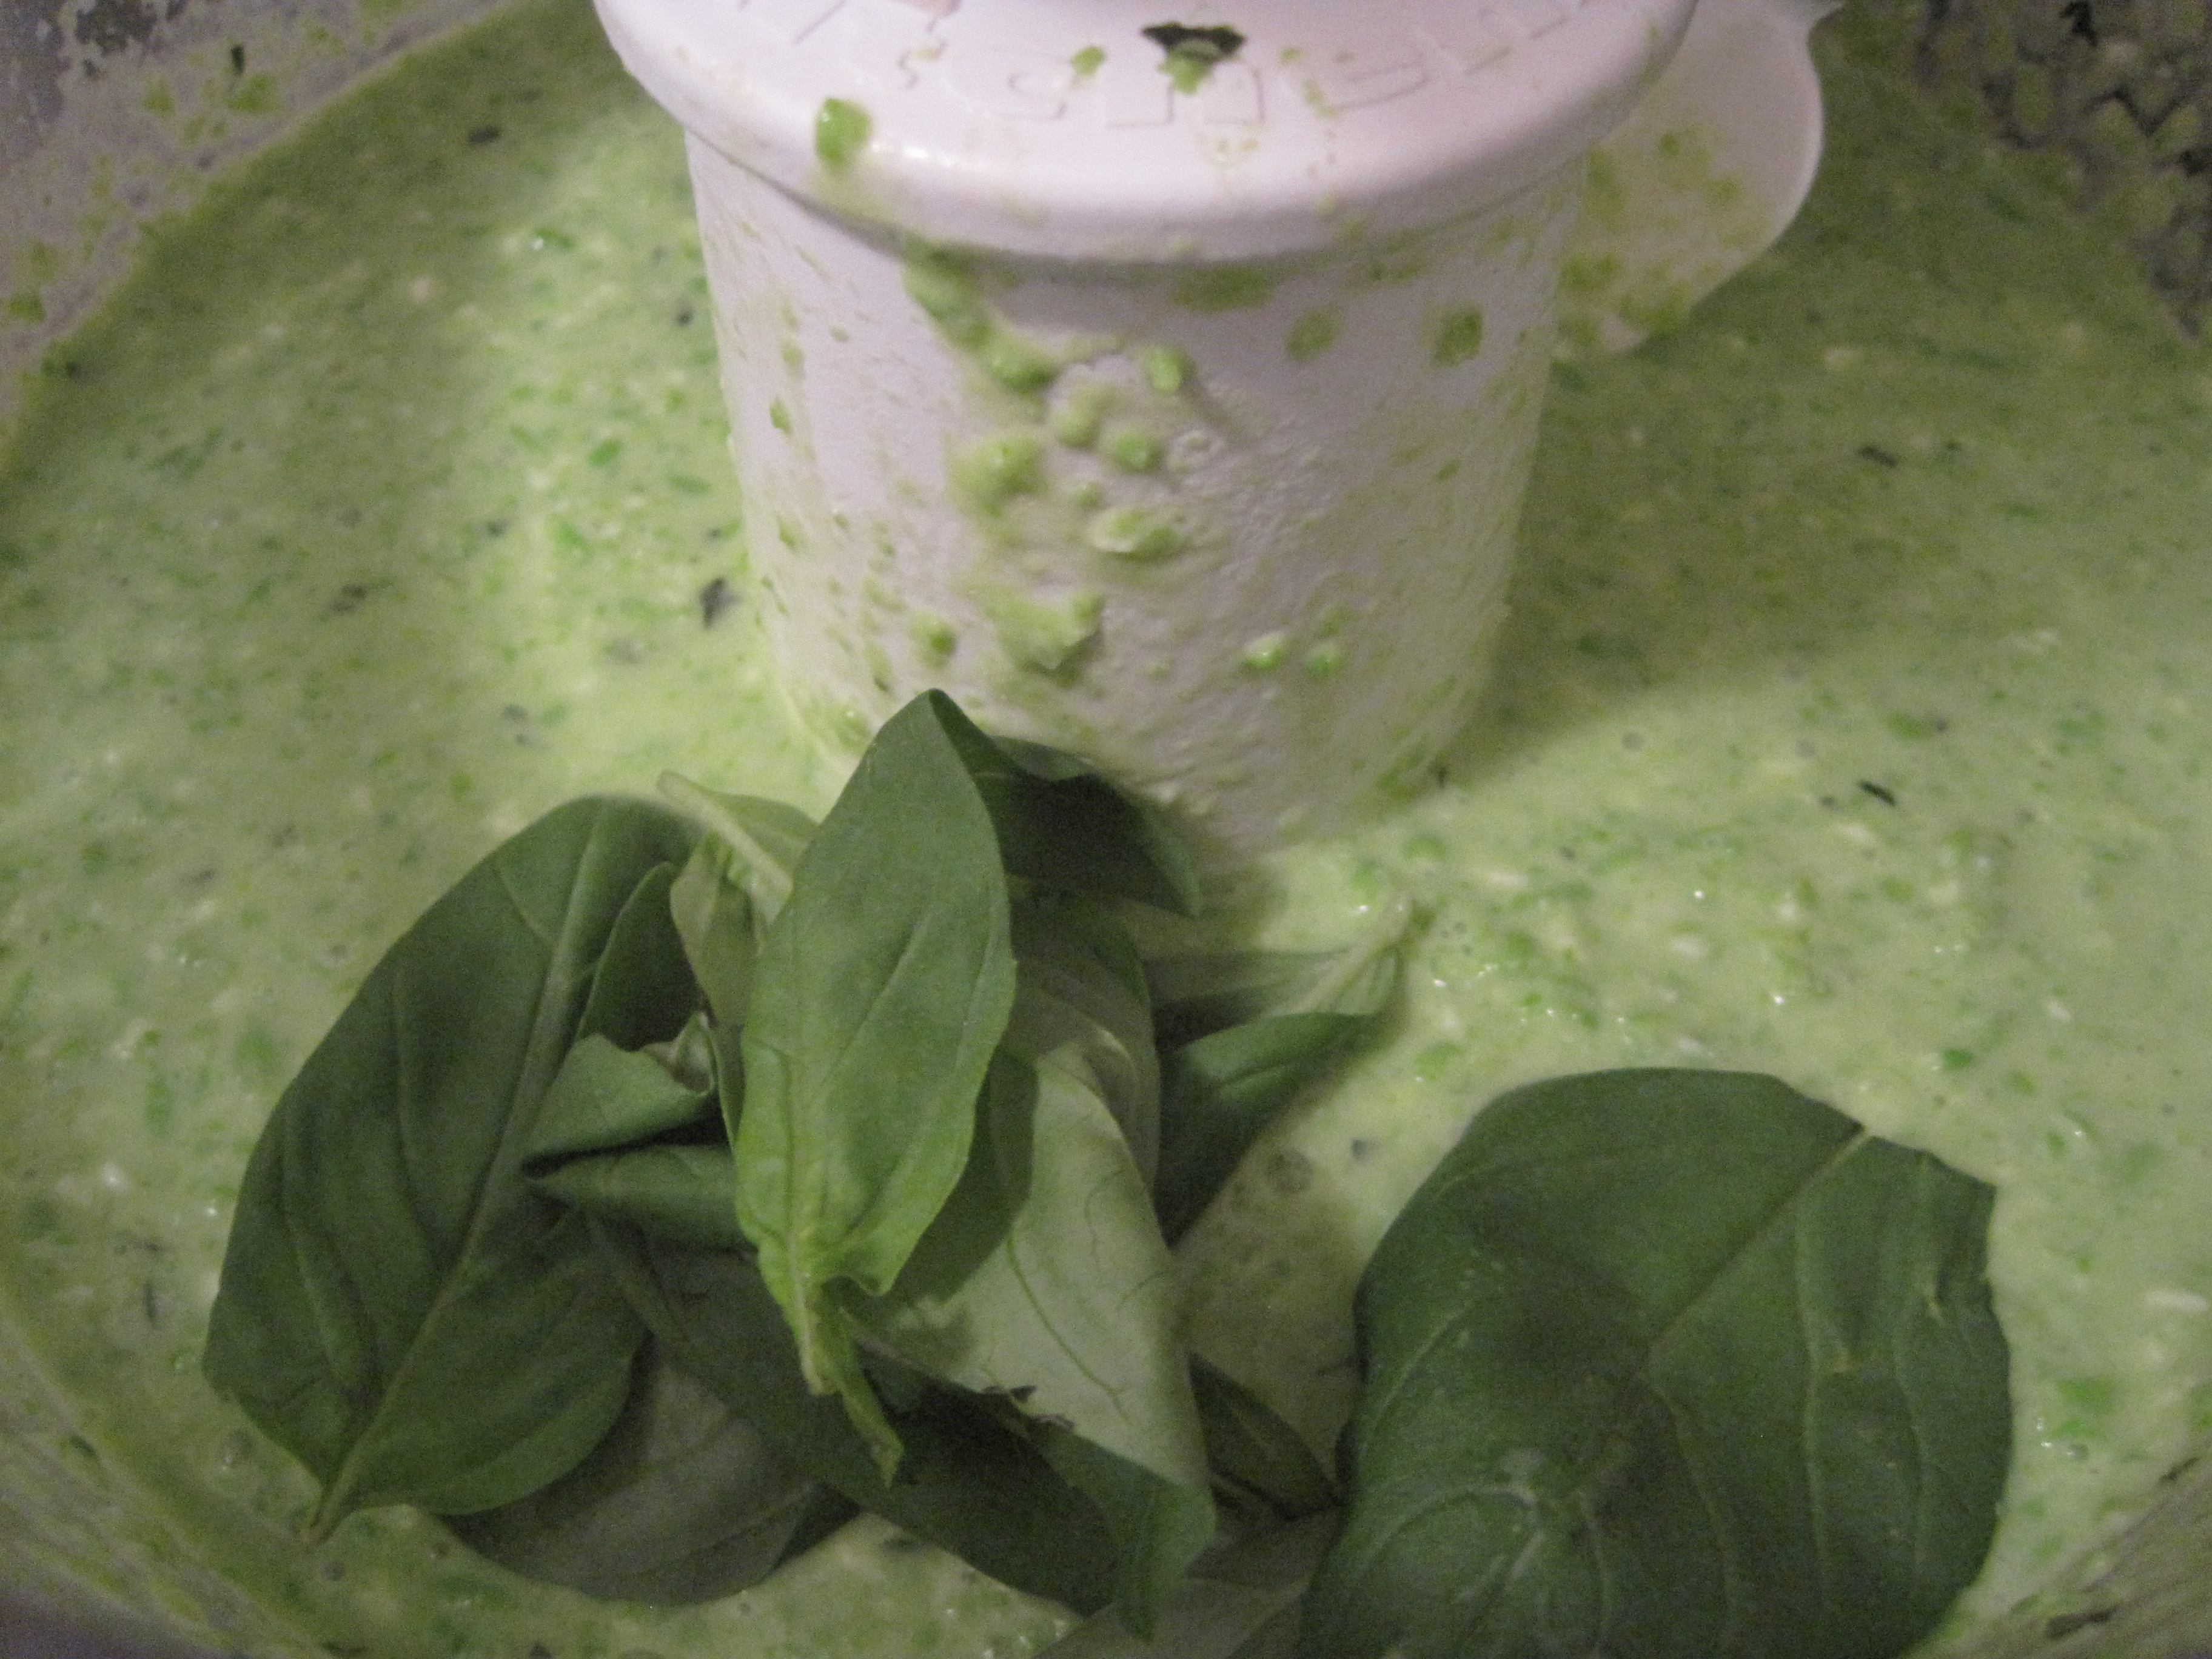
* The mix should begin to turn a light green color.

– You can stop the chopping & open up the bowl to add in the last cup of chicken broth along with the mozzarella.

* Keep a couple of slices off to the side for garnish when completed.

– Again chop on low speed till the mozzarella is chopped and combined.

– Next open up again and add the last of the basil leaves.

* Keep a couple of small leaves off to the side for garnish when completed.

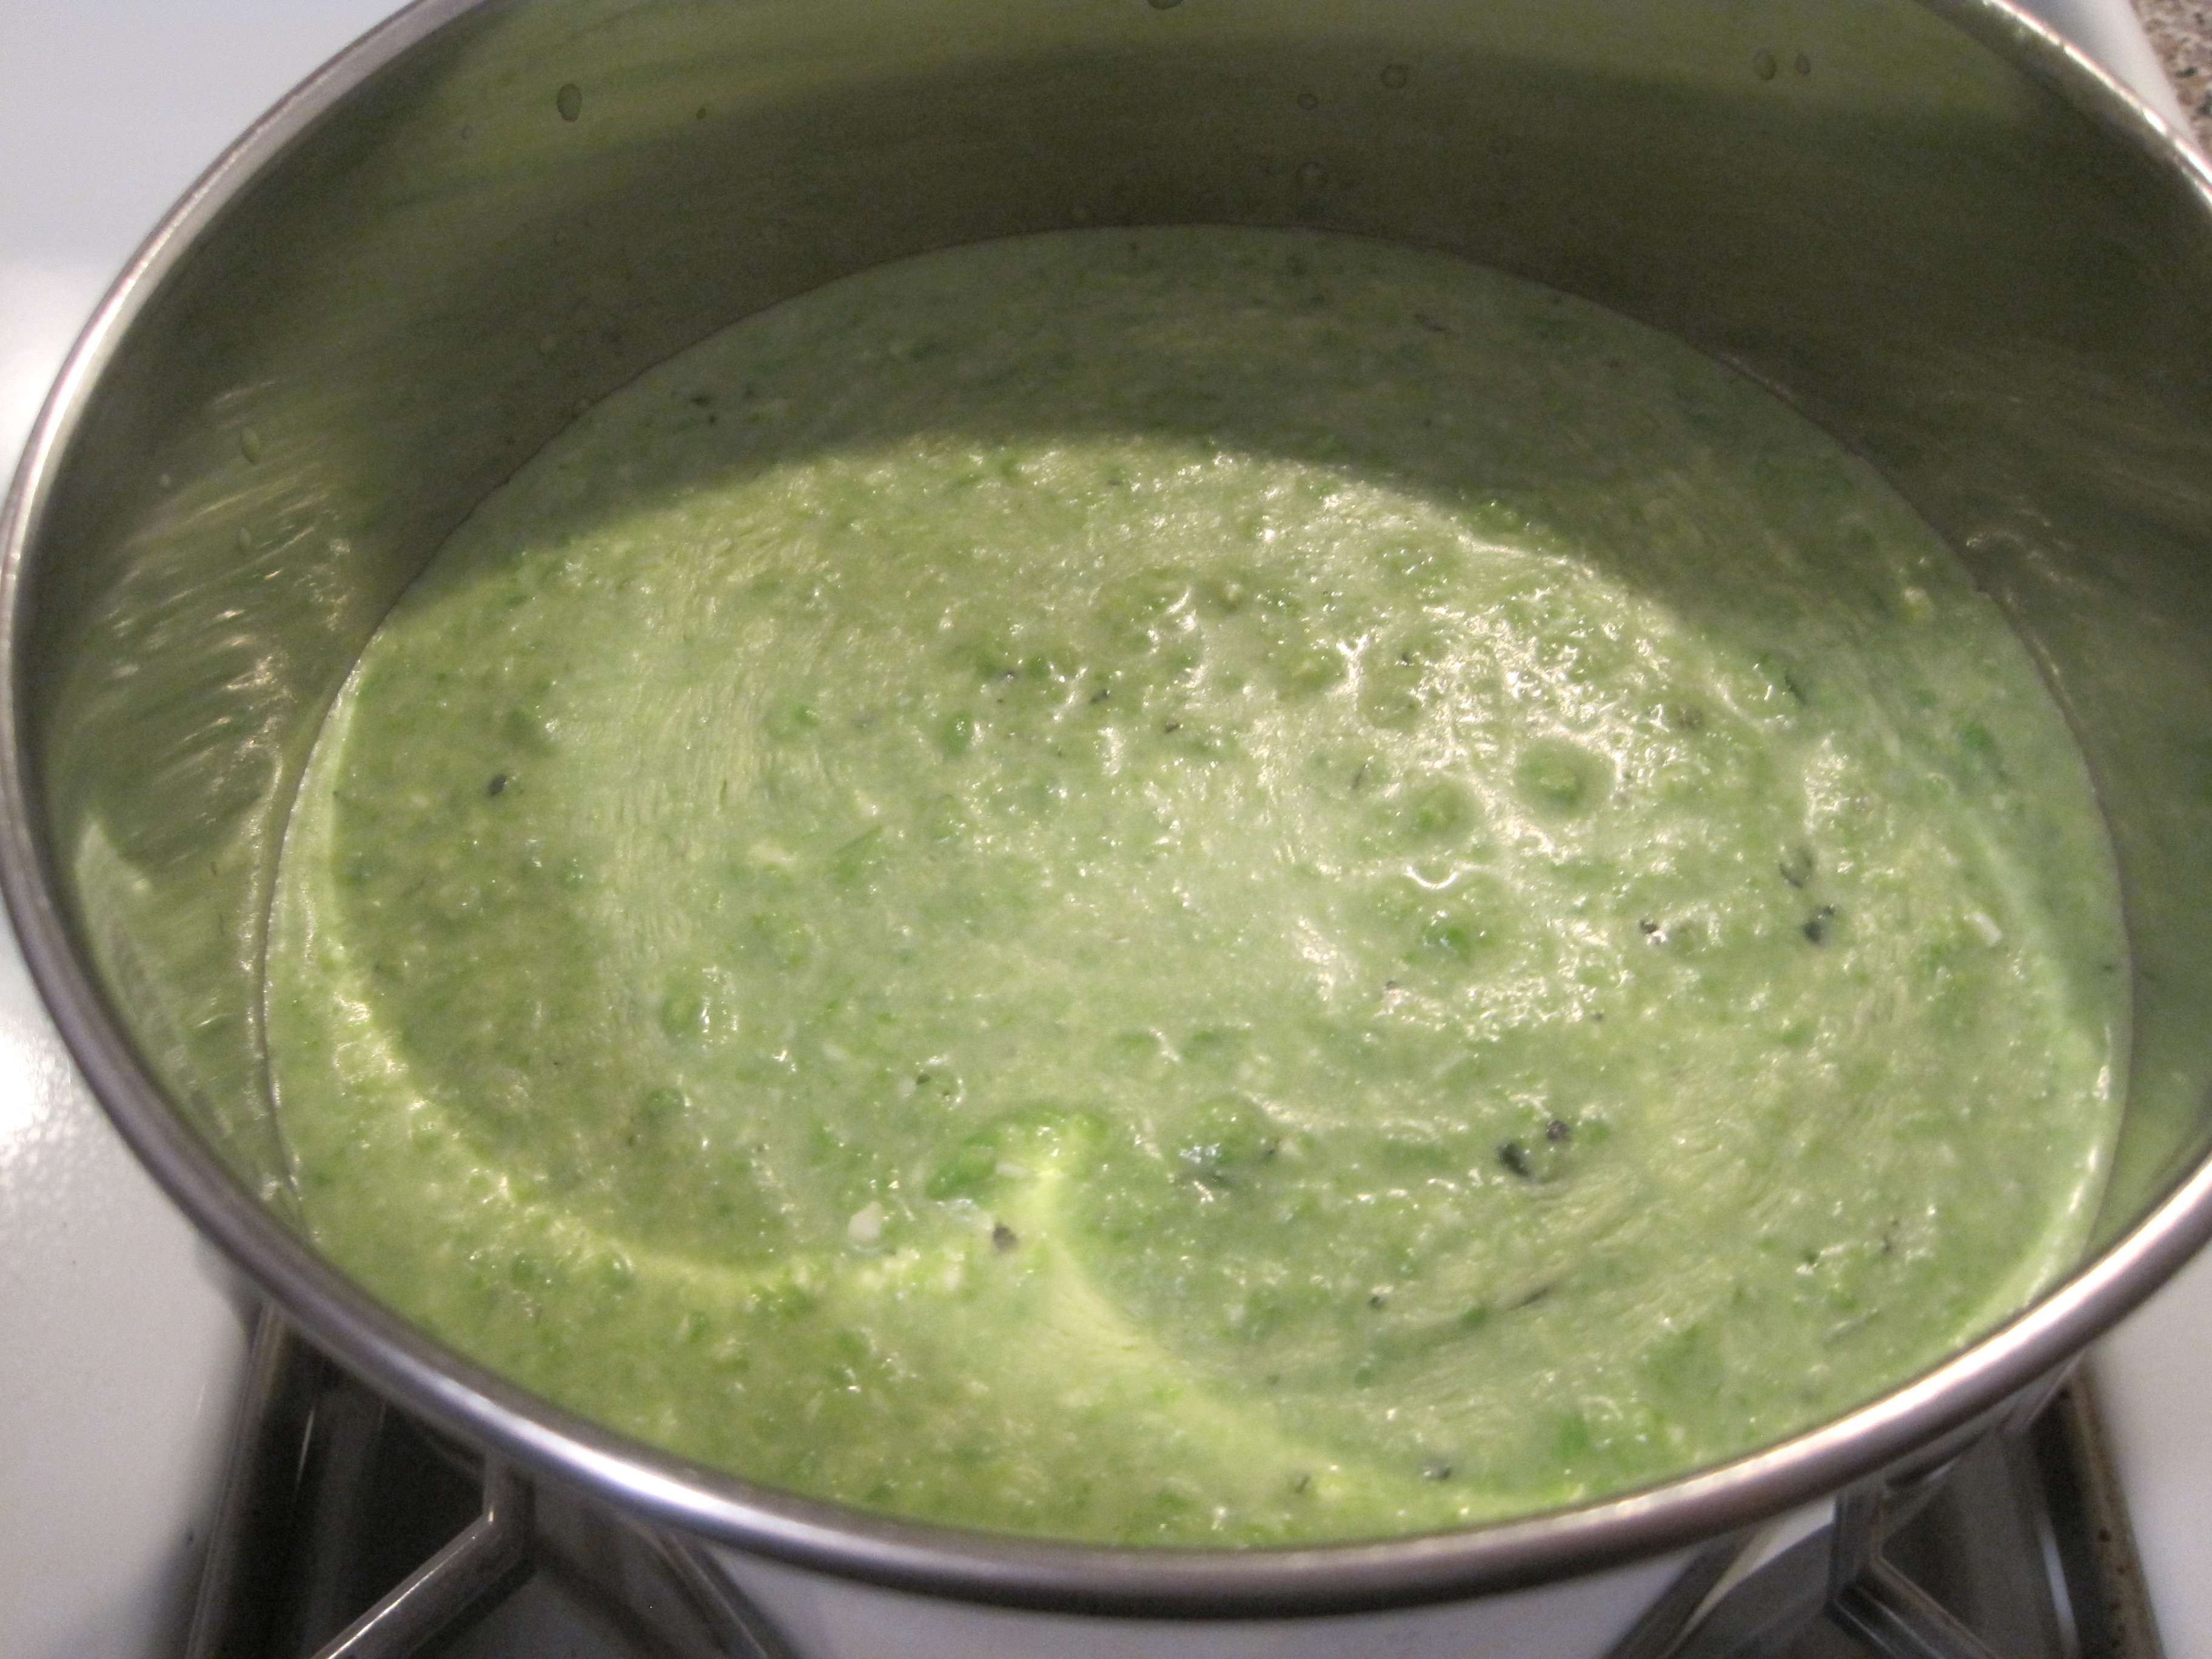
– Once more chop on low then transfer the contents to a pot.

– Heat stove on medium heat and be sure to spin the soup often if not the mozzarella in the soup will burn at the bottom or to the sides of the pot.

– You can season soup with salt, pepper and garlic powder then mix.

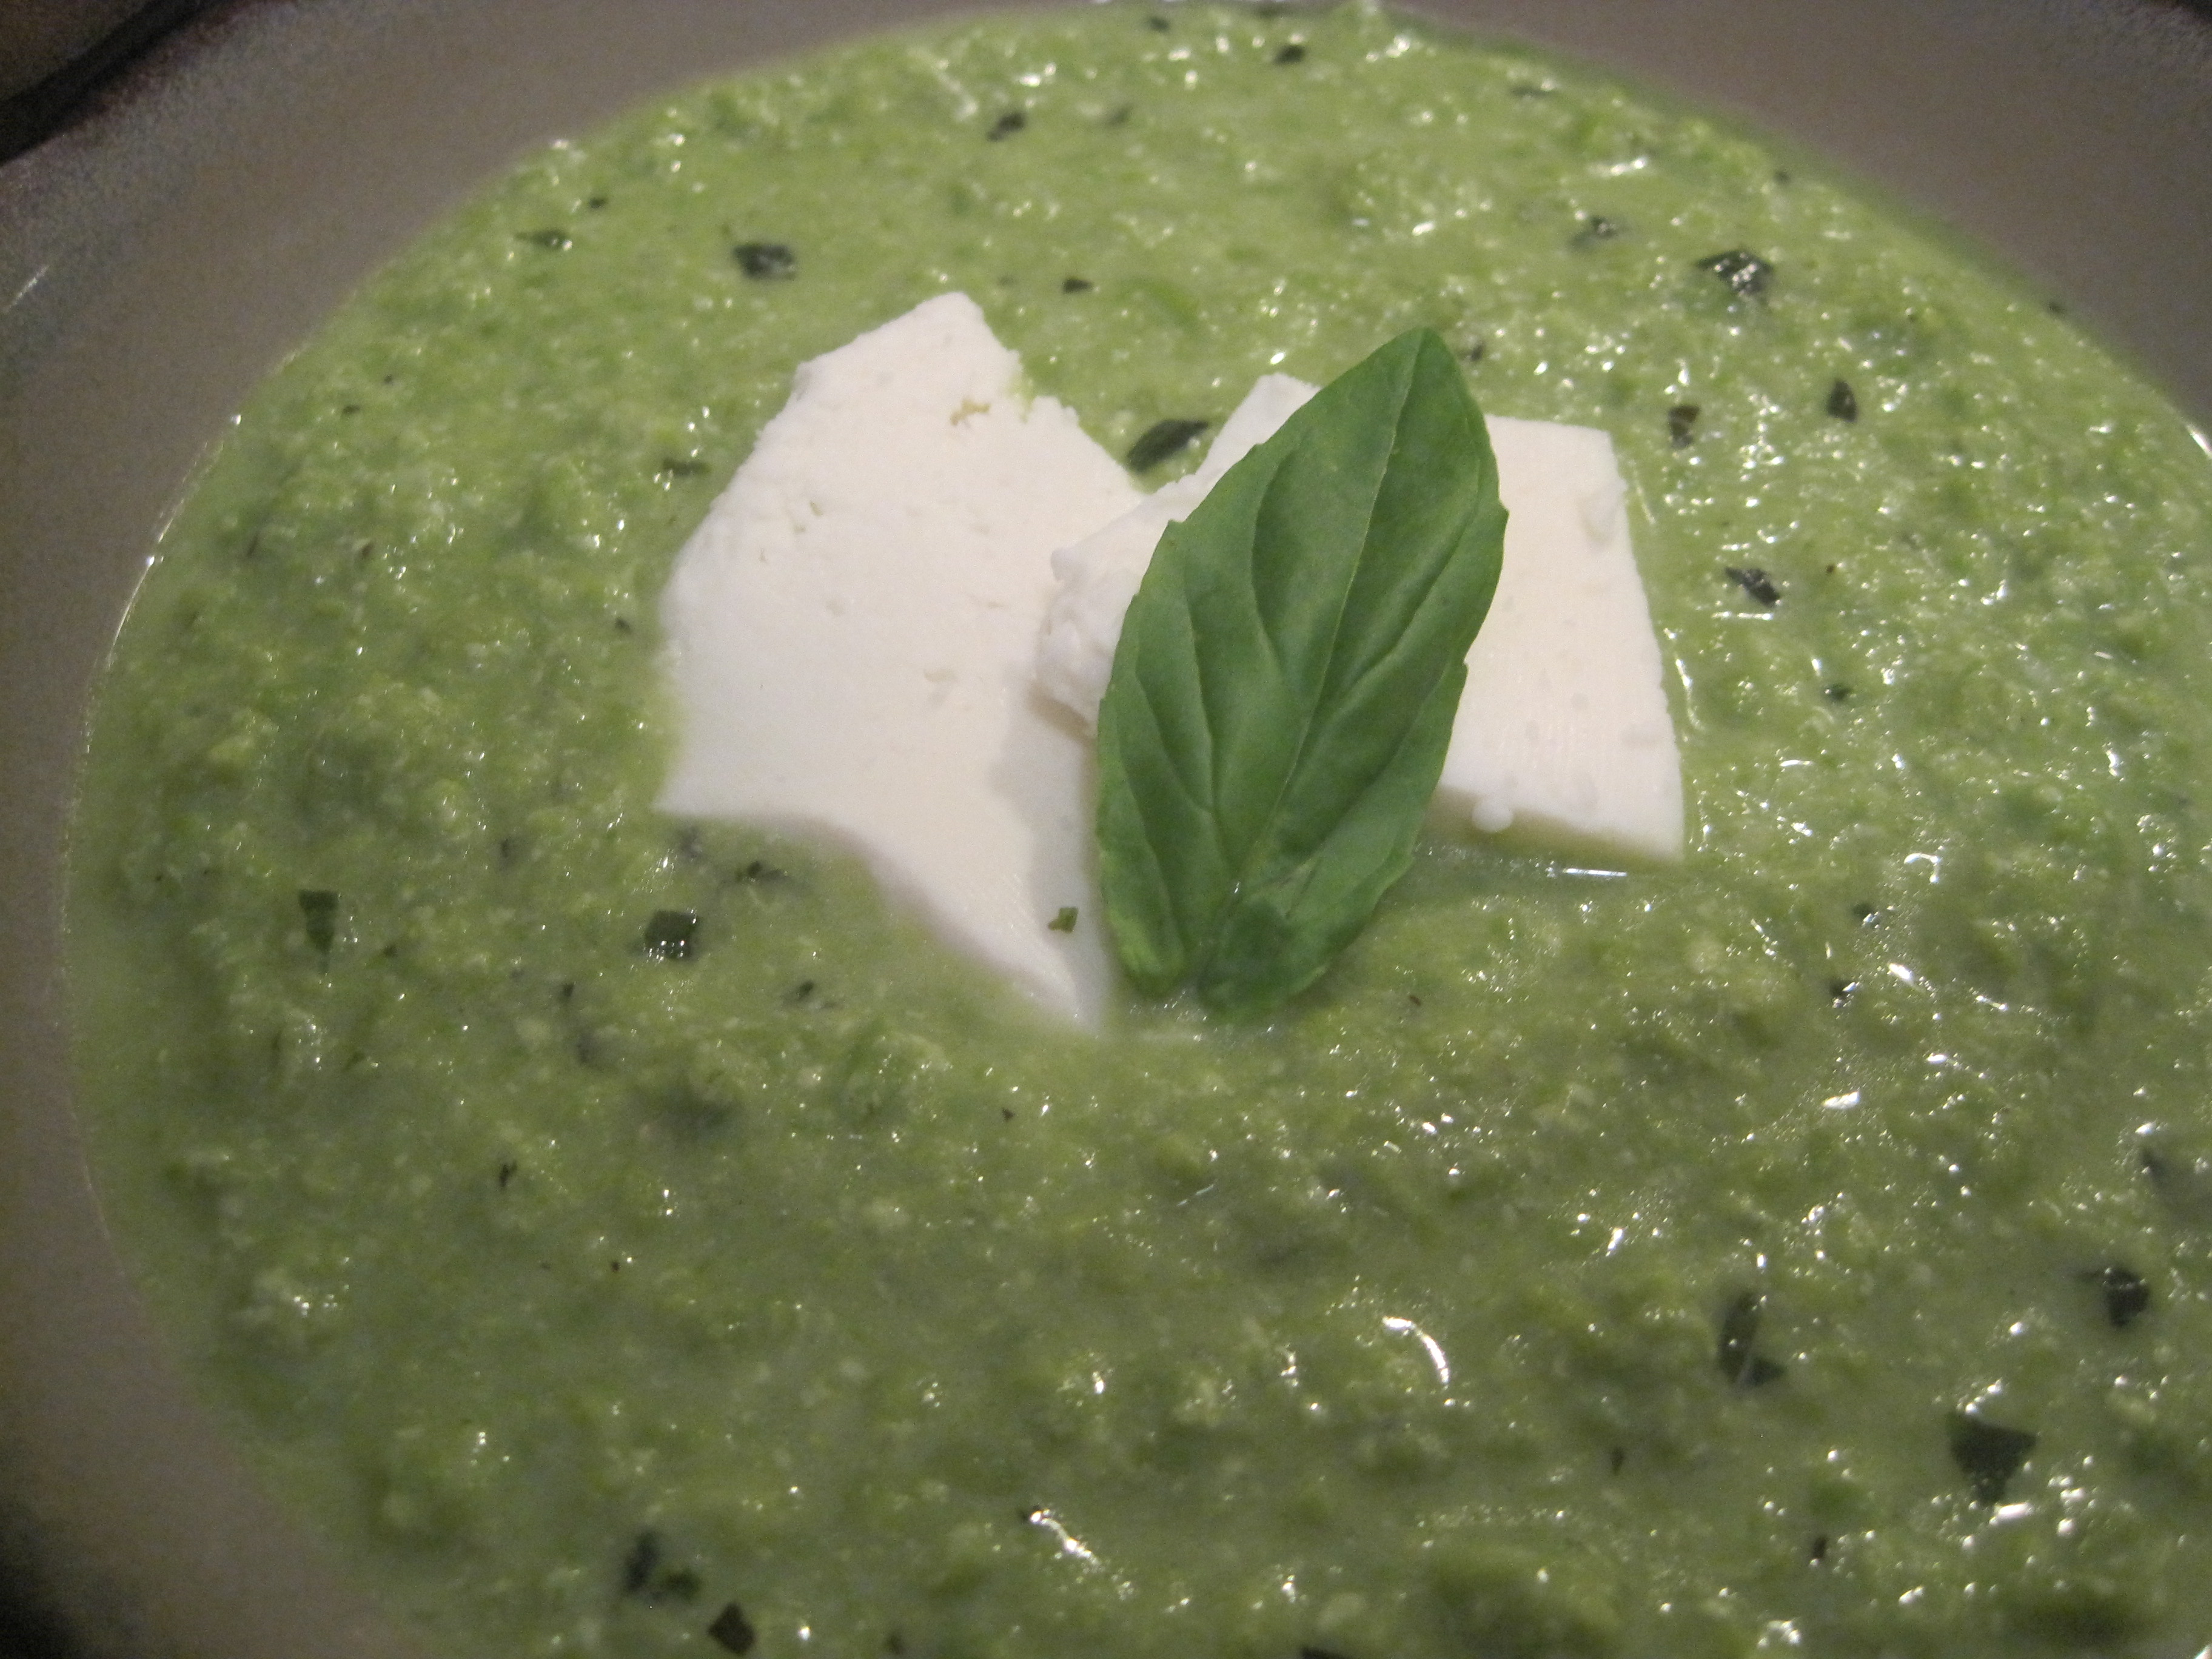
– Once soup is heated place in bowl and garnish with mozzarella and basil leaf.

Enjoy!

*As mentioned before you can always add in a protein to the soup to make a meal in one bowl or pair the soup with your favorite Panini.

~A.M.A.~

© Cookery for Two – 2012. Unauthorized use and/or duplication of this material without express and written permission from this blog’s author and/or owner is strictly prohibited. Excerpts and links may be used, provided that full and clear credit is given to Cookery for Two with appropriate and specific direction to the original content.

Pappardelle Con Salsiccia & Pomodori Fresca

Pasta doesn’t always have to be drenched in sauce to be delicious. Blistering fresh tomatoes with white wine and olive oil make the perfect light sauce for wide Pappardelle pasta and crumbled sausage. Top with salty feta cheese and you have a perfect plate of pasta.

(Ingredients)  

Seasonings: Salt, Pepper, Garlic Powder, Olive Oil

Handful of Basil

1/2 Cup Chicken Broth

1/2 Cup White Wine

1/2 Pound Pappardelle Pasta

Cherry Tomatoes

(8) Sweet Italian Sausage Links

Crumbled Feta Cheese

(Directions)

Let a tablespoon of olive oil heat up in a pan on medium flame.

– Have the pasta water (salted) heating to a boil.

– Wash the cherry tomatoes and a handful of fresh basil then place off to the side.

– Cut a line down each sausage link.

– Remove sausage meat from casings then crumble into the hot oil.

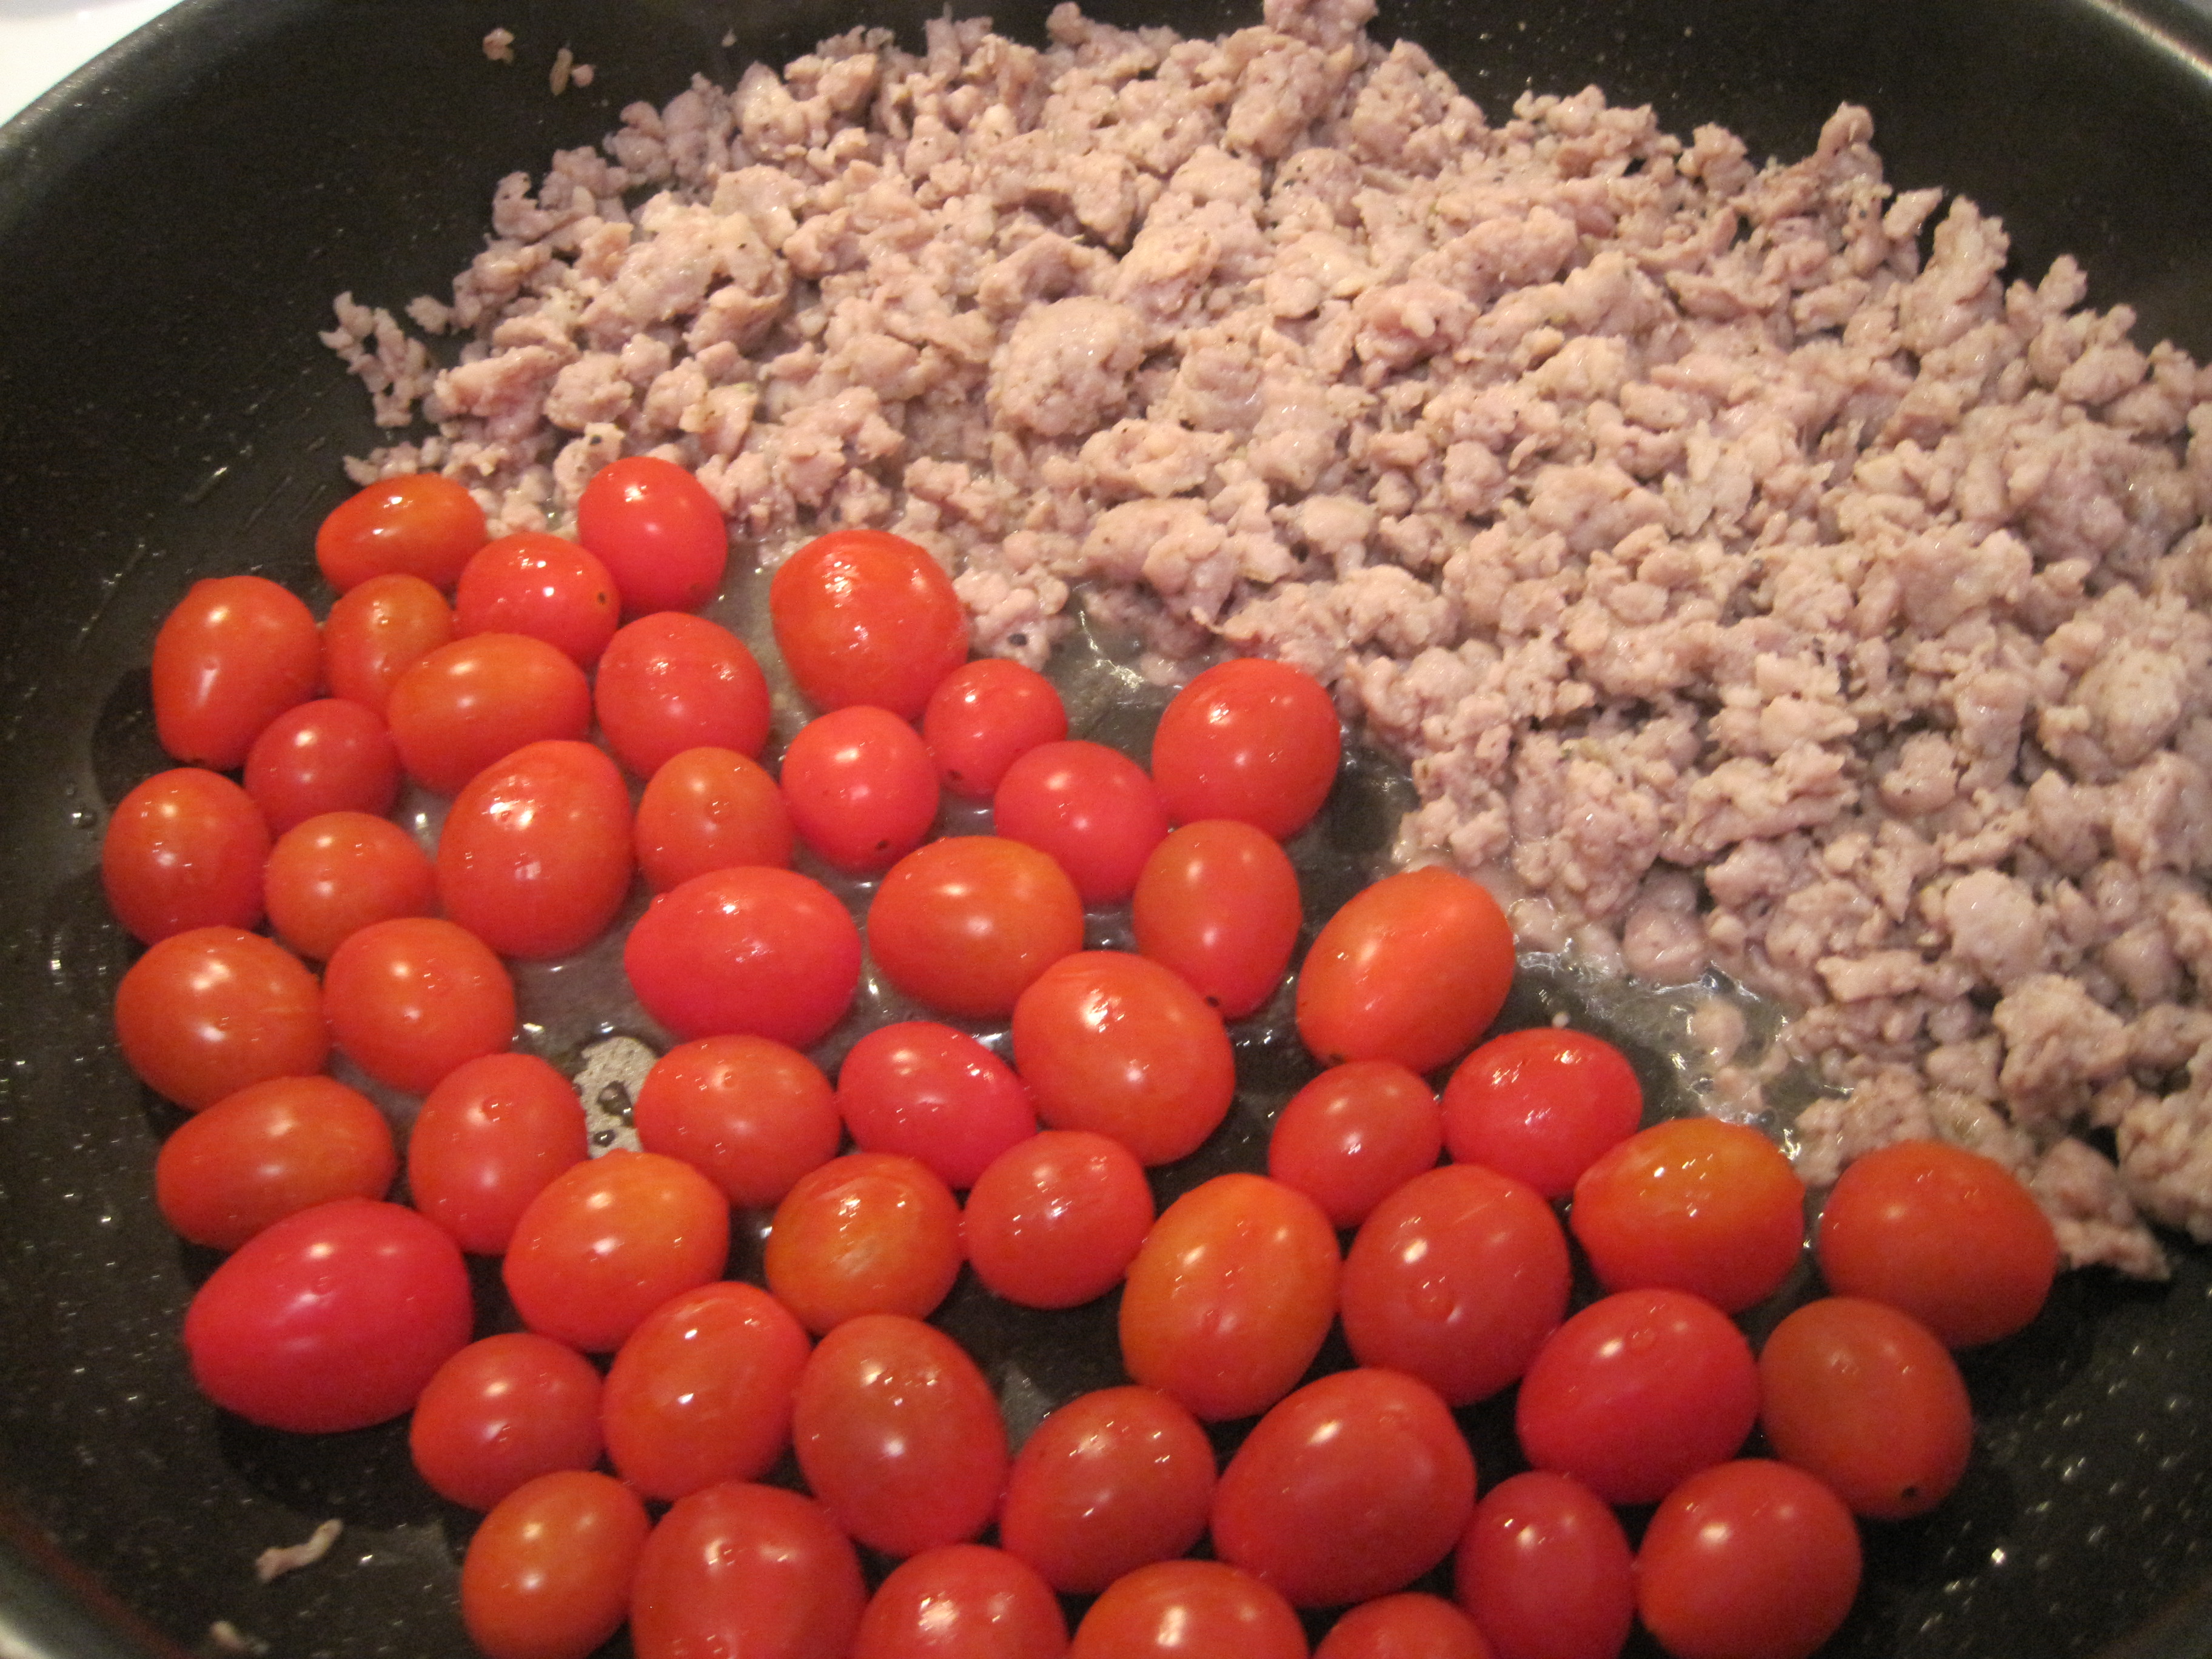
– Brown meat till cooked through then push the meat off to the side so one side of the pan is cleared.

– Throw in the cherry tomatoes and let blister so juices go into pan.

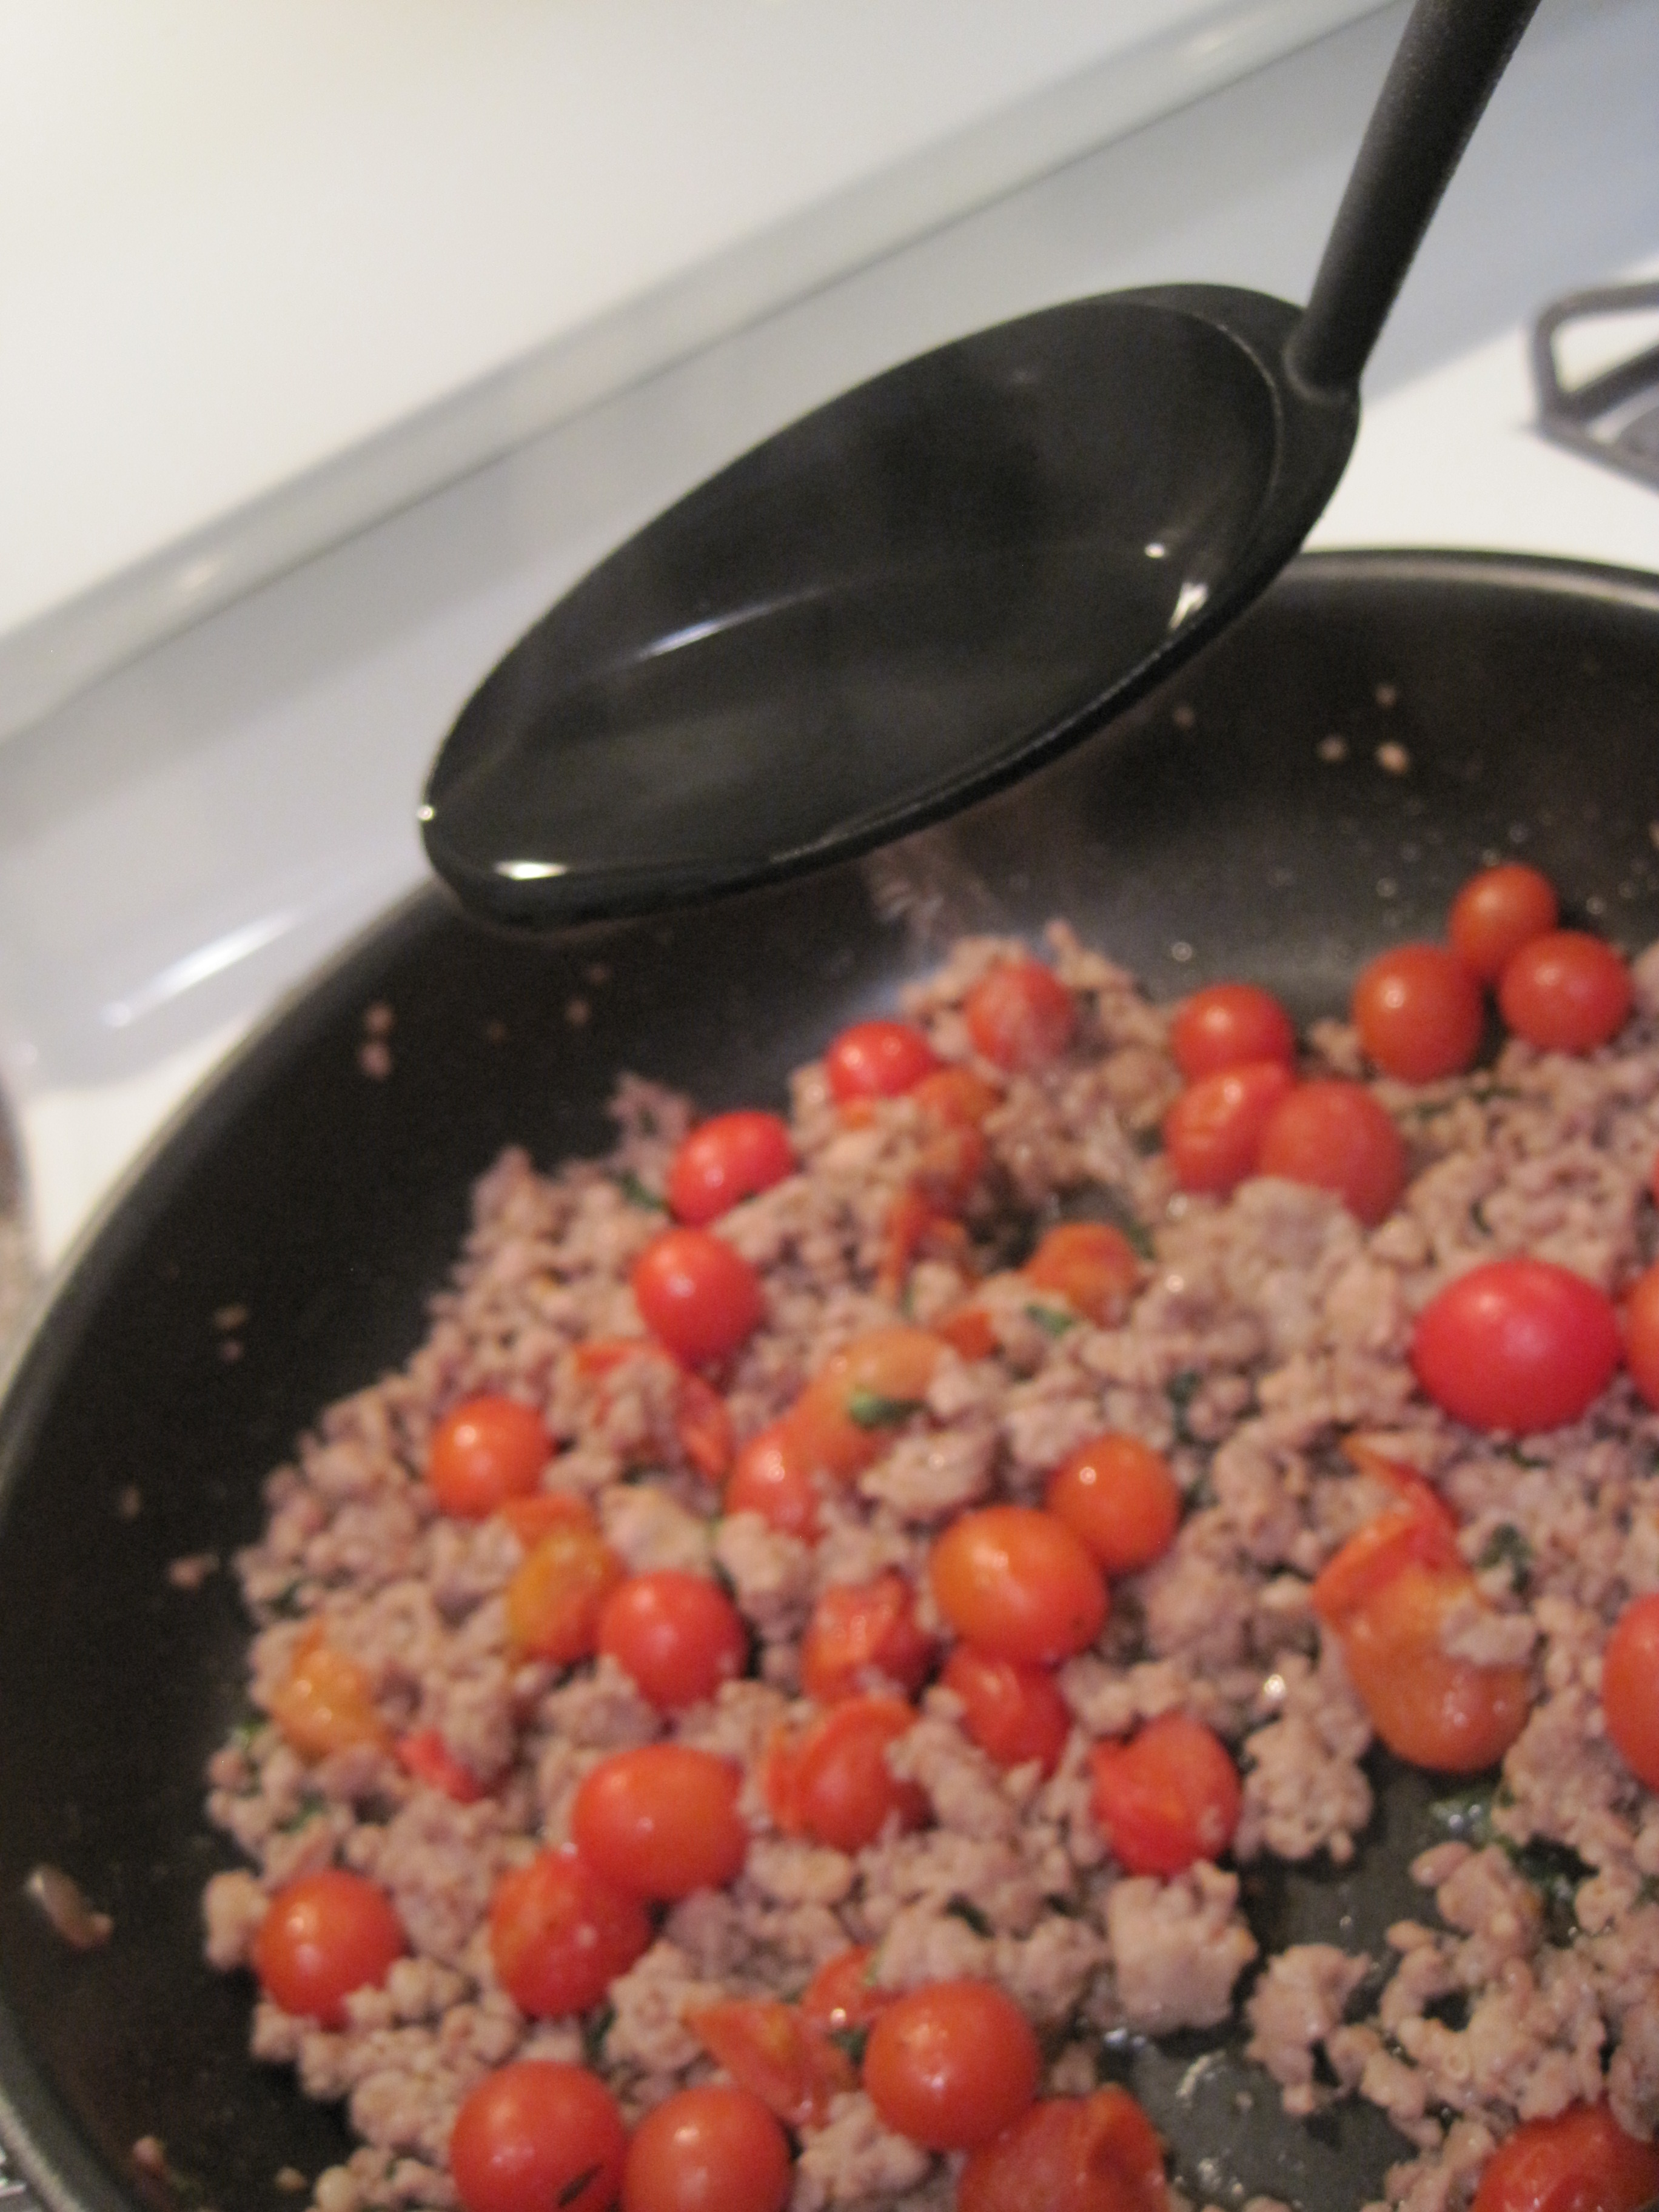
– You can now add in the white wine and the chicken broth along with the fresh basil leaves.

– Combine all and season with salt, pepper and garlic powder.

– Simmer on low till pasta is ready to be combined into pan.

– Once pasta is cooked through, ladle one or two spoonful’s of pasta water into the pan.

– Now drain the pasta and throw direct into the sauce pan.

– Add a drizzle of olive oil season again with salt, pepper and garlic powder and mix.

– Turn off the heat.

– Plate pasta, top with feta and serve.

Enjoy!

*You can always use chicken sausage instead of pork sausage and even add other veggies to the tomatoes like mushrooms or green beans.

~ A.M.A ~

© Cookery for Two – 2012 . Unauthorized use and/or duplication of this material without express and written permission from this blog’s author and/or owner is strictly prohibited. Excerpts and links may be used, provided that full and clear credit is given to Cookery for Two with appropriate and specific direction to the original content.